Method
The Restoration Process
Grinding, honing, polishing and sealing are stages within a single restoration — not a menu of services to choose between. Which stages a floor needs depends on its condition, and some of them are frequently unnecessary.
At a glance
The method in eight stages
What a full restoration can involve, in the order the stages would occur. Follow any of them for the detail.
Grinding
Cutting stone back with metal-bond diamonds to make it flat. The most aggressive stage, and often unnecessary.
Honing
Progressive refinement of the surface through finer abrasives. Produces a smooth, low-sheen finish, and is also the path to a polish.
Polishing
Bringing the stone itself to a reflective finish mechanically. No coating, no wax, nothing applied that can peel.
Repairs
Chips, cracks, holes and failed joints made good, colour-matched as closely as the material allows.
Coating Removal
Stripping topical sealers, waxes and polymer glosses back off, so the stone underneath can be assessed and finished.
Stain Removal
Drawing absorbed substances back out of the stone with poultices. A different problem from etching, and often confused with it.
Grout Restoration
Failed joints raked out and rebuilt properly, rather than smeared over with fresh grout on top of old.
Sealing
An impregnating sealer to slow absorption. Buys time against staining — it does not make stone stain-proof.
The numbers show the order stages would occur in, not a checklist. Most jobs use a subset — a floor that is already flat needs no grinding, and a honed finish stops before polishing. Which stages apply is decided at assessment.
On method
Why these are not sold separately
On many stone websites — including this one, previously — grinding, honing, polishing and sealing sit side by side as equivalent services.
That framing is misleading. Asking for "polishing" on a floor that is unevenly laid will not make it flat, and grinding a floor whose only problem is a dulled finish removes stone for no benefit. The stages are sequential and conditional: each one exists to resolve the surface left by the one before it.
So the honest unit of work is the problem — a worn floor, an etched benchtop, a failed coating — and the stages are how that problem gets solved. That is why the site is organised around restoration solutions and this page explains the method behind them.
Each stage below includes what it does not fix, and when it should be skipped.
Stage 1
Grinding
Cutting stone back with metal-bond diamonds to make it flat. The most aggressive stage, and often unnecessary.
What it does
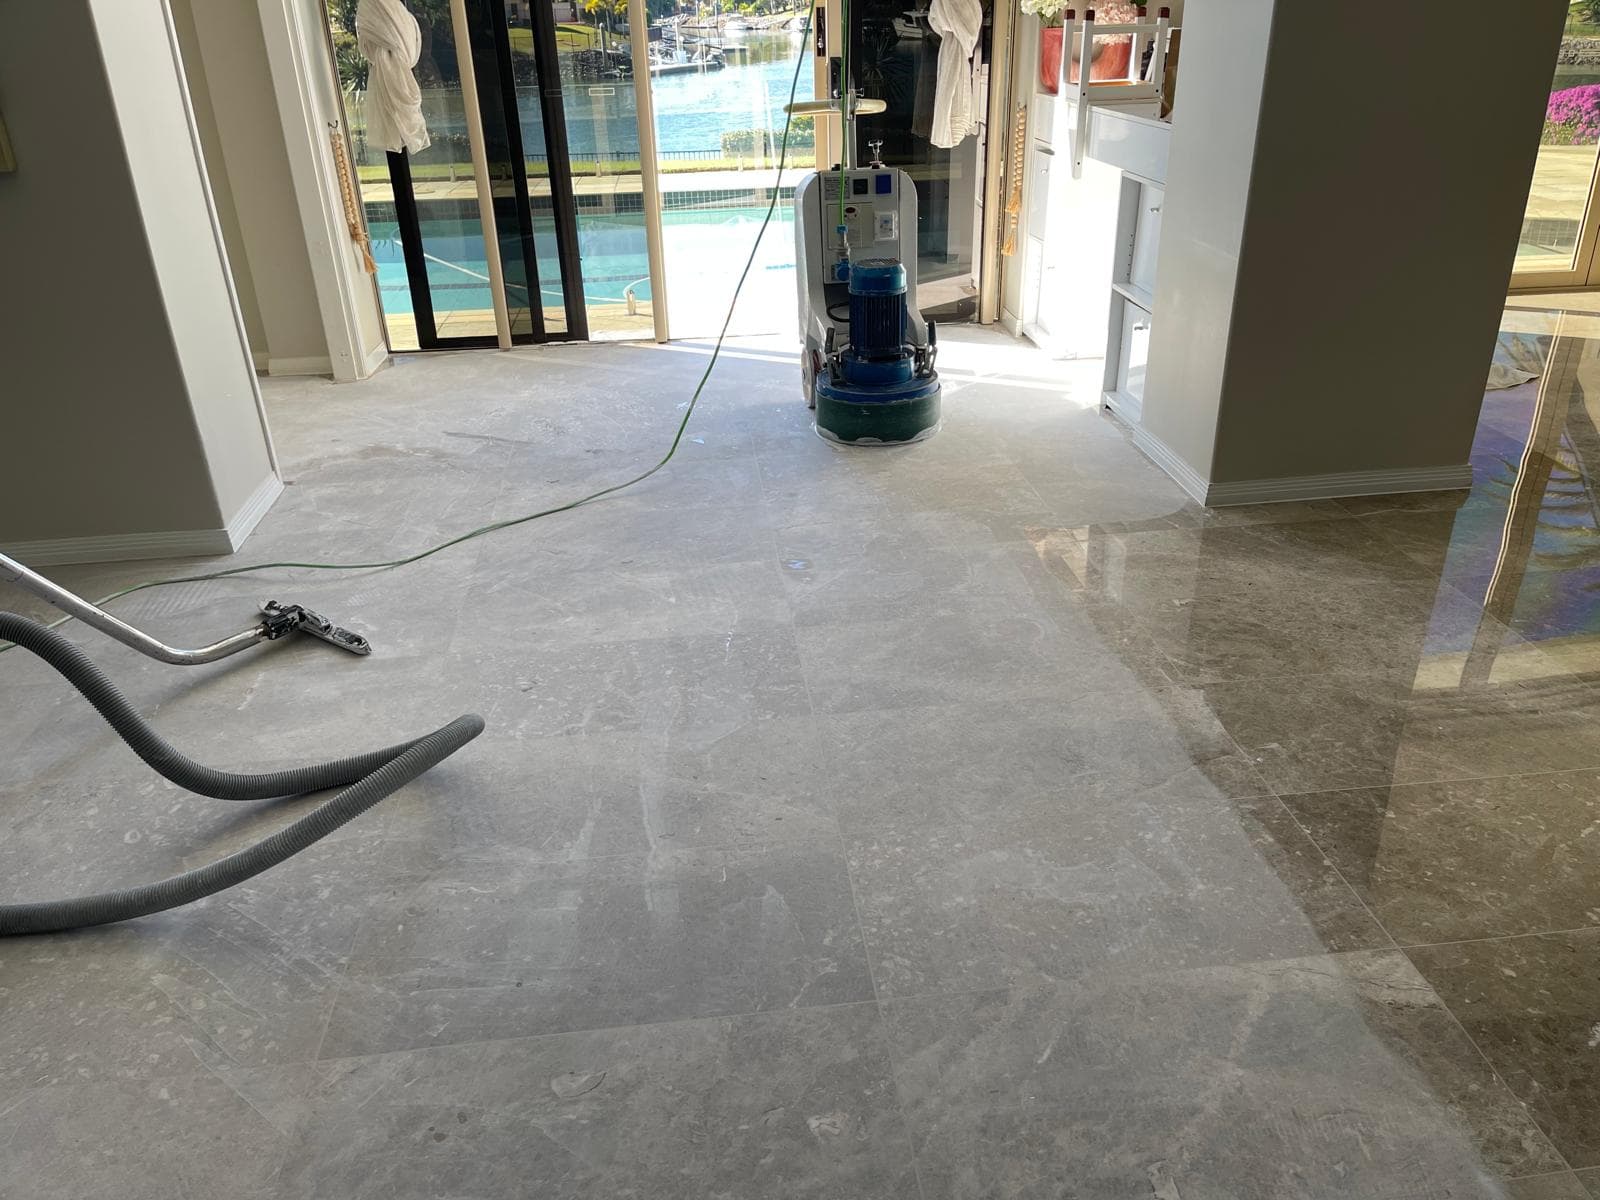
Grinding removes material from the surface of the stone using diamond abrasives bonded in a metal matrix. It is a cutting operation, not a cleaning or polishing one.
On a floor with lippage — tiles sitting at different heights — grinding takes the high edges down until the whole floor sits in one plane. This is the only way to make an unevenly laid stone floor genuinely flat.
It leaves a coarse, uniform scratch pattern behind. That pattern is intentional: it is the starting point that every finer stage after it works to refine away.
Why it would be chosen
- To flatten a floor where tile edges catch underfoot or collect dirt.
- To remove deep scratching, gouging or wear that finer abrasives cannot reach.
- To take off a failed coating together with the damaged stone beneath it, where stripping alone will not do.
- To open up a surface that has been sealed or coated so many times that the actual stone can no longer be assessed.
Limits
- Grinding is irreversible. Material removed is gone, which is why the decision to grind is made deliberately rather than by default.
- It generates a great deal of fine dust or slurry, so containment and site protection are part of the job.
- On very thin tiles or a poorly bedded floor, the amount of levelling achievable is limited by the stone itself.
When it is not needed
- The floor is already flat and only the finish has dulled. Refinement stages alone will restore it, and grinding would remove material for no benefit.
- The stone is thin, or has already been ground several times in its life. There is a finite amount of material available and spending it unnecessarily shortens the floor's remaining life.
- The problem is residue rather than damage — soap film or hard-water deposit on granite, for instance, which cleans off.
- The damage is confined to isolated spots that can be addressed individually.
Stage 2
Honing
Progressive refinement of the surface through finer abrasives. Produces a smooth, low-sheen finish, and is also the path to a polish.
What it does
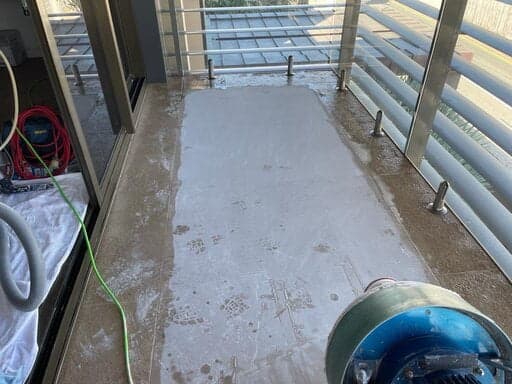
Honing works through successively finer diamond abrasives, each one removing the scratch pattern left by the stage before it. The surface becomes progressively smoother and more uniform.
Stopping at a mid-range abrasive gives a honed finish: smooth to the touch, with a soft matte or satin appearance rather than a reflection. Continuing further leads toward a polish.
This is where most of the actual labour in a restoration sits. Skipping or rushing a stage leaves a scratch pattern that stays visible under everything applied afterwards.
Why it would be chosen
- To achieve a honed or matte finish, which is the correct look for most limestone and much contemporary specification.
- To create the uniform surface that a polish requires — a polish over an unrefined surface simply makes the scratches shiny.
- To reduce the visibility of etching and light wear on stone where a full polish is not wanted.
- To provide better slip characteristics than a high polish in wet areas.
Limits
- Each stage takes time and cannot be compressed. This is the main driver of how long a restoration takes.
- A honed surface shows fingerprints and water marks differently to a polished one — worth seeing a sample before committing on a benchtop.
- Honing will not remove damage deeper than the abrasive can reach; that is grinding's job.
When it is not needed
- The existing finish is sound and the surface only needs cleaning or resealing.
- The stone carries a factory finish that cannot be reproduced on site — some engineered surfaces fall into this category, and honing them makes things worse.
- The client wants the existing honed finish maintained rather than reworked, and it is still even.
Stage 3
Polishing
Bringing the stone itself to a reflective finish mechanically. No coating, no wax, nothing applied that can peel.
What it does
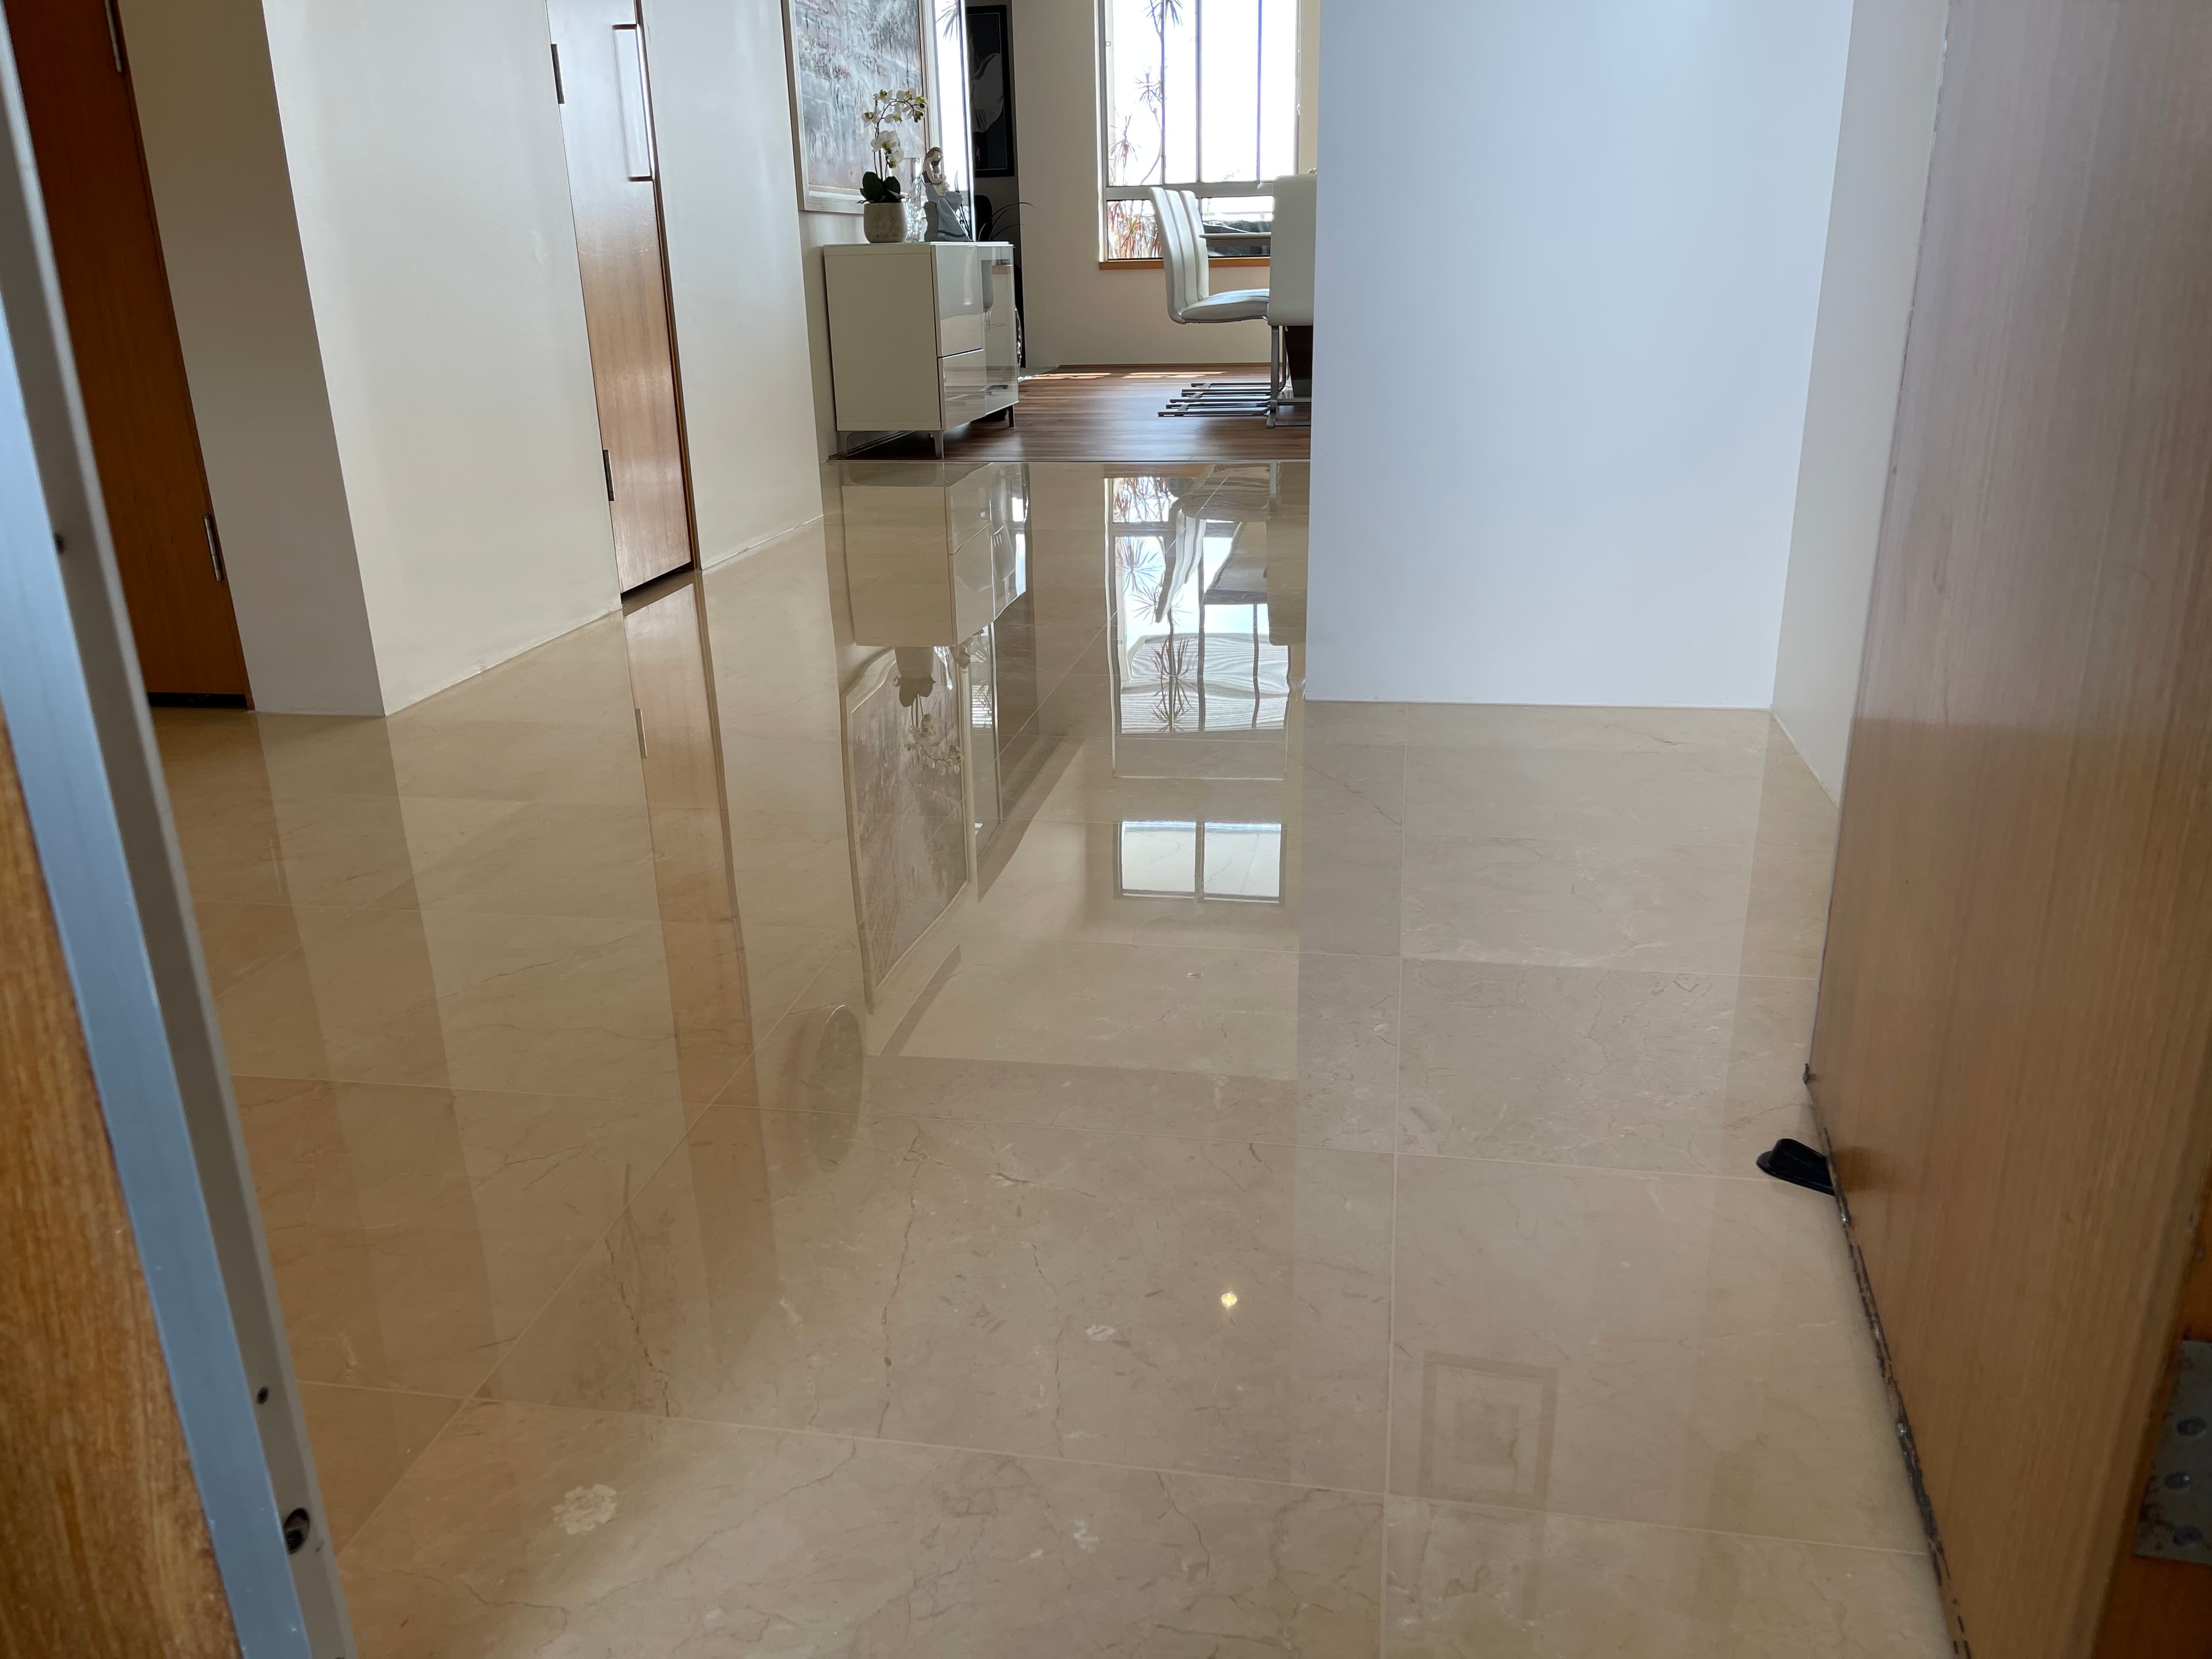
Polishing continues refinement to very fine abrasives, and on calcite stones also involves a compound that works the surface to close it up. The result is a surface flat enough at a microscopic scale to reflect light coherently.
The critical point is that the shine is the stone. Nothing is laid on top. A mechanically polished marble floor has no coating to wear through, discolour or peel, which is why it can be maintained rather than replaced.
This is the difference between restoration and the topical gloss products that dominate the market. A polymer coating produces shine on day one and a patchy, worn surface within a year or two of traffic.
Why it would be chosen
- To restore the original reflective finish on marble, granite or terrazzo.
- To produce a durable result that can be maintained in place rather than stripped and re-coated periodically.
- To bring out depth and veining in stone, which a matte finish flattens.
- To reduce porosity slightly by closing the surface, though this does not replace sealing.
Limits
- A polished finish shows scratches and etching more readily than a honed one, because it reflects light and any disruption to that reflection is visible.
- It requires the refinement stages beneath it to have been done properly; polish cannot compensate for skipped work.
- Polished stone still etches. Acid sensitivity is a property of the material, not of the finish.
When it is not needed
- A honed or matte finish is what is wanted, either aesthetically or for slip resistance.
- The stone does not support a polish. Most sandstone and slate will not take one, and forcing it fights the material.
- The surface is in a wet area where a high polish would be a slip risk.
- The floor has not been properly refined first — polishing then locks in the scratch pattern instead of removing it.
Stage 4
Repairs & Surface Correction
Chips, cracks, holes and failed joints made good, colour-matched as closely as the material allows.
What it does
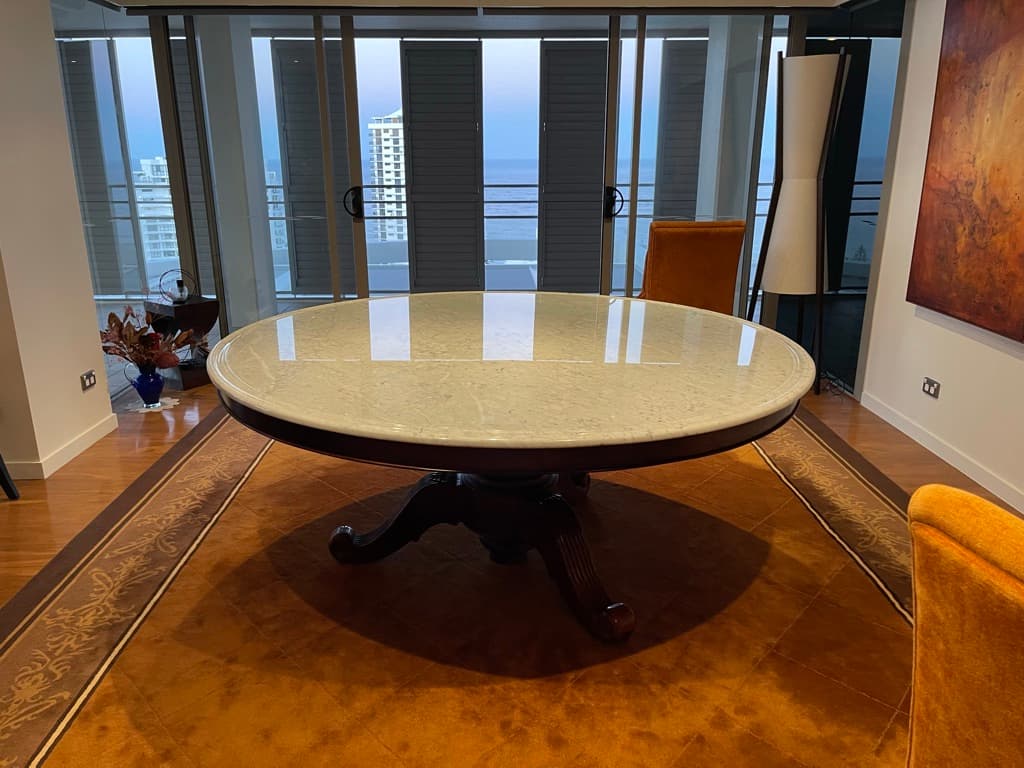
Repair covers filling chips and holes, stabilising cracks, replacing failed fills in travertine, and rebuilding damaged edges and corners. Materials are chosen for the stone and tinted toward its colour.
Where a crack reflects movement in the substrate rather than damage to the stone, the repair addresses the surface but does not stop the movement. Establishing which situation applies comes first.
Repairs are normally done before the refinement stages, so the filled area can be worked back flush with the surrounding surface and finished to match.
Why it would be chosen
- To make physical damage substantially less visible.
- To stop a chip or open crack collecting dirt and moisture, which makes it progressively more obvious.
- To restore an edge profile on a benchtop or step where material has broken away.
- To replace travertine fills that have released, which is the usual cause of a pitted-looking travertine floor.
Limits
- An invisible repair is not a realistic promise. Natural stone has depth, translucency and veining that a fill does not, so a good repair is markedly less noticeable rather than undetectable.
- Colour matching is harder on light, heavily veined and translucent stone.
- Repairs to stone that is still moving will reopen.
When it is not needed
- The marks are etching or staining rather than physical damage — those are chemical problems and filling them would be wrong.
- The stone's natural character includes voids and variation that were always meant to be there.
- The crack is active and structural, in which case the honest answer is to resolve the movement first.
Stage 5
Coating & Sealer Removal
Stripping topical sealers, waxes and polymer glosses back off, so the stone underneath can be assessed and finished.
What it does
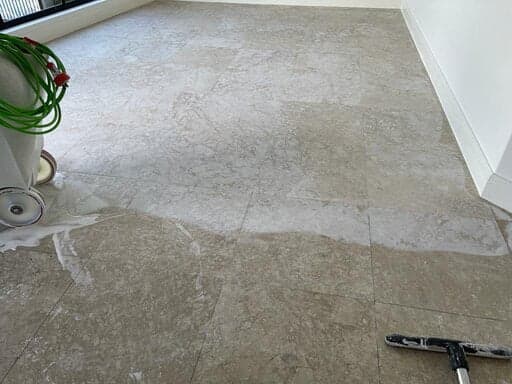
Topical products sit on top of the stone rather than in it. Removal uses appropriate strippers and, where a coating is stubborn or has bonded, mechanical means.
Older floors frequently carry many layers applied over years, each added to hide the wear in the one before. It is common for the resulting build-up to be the entire reason a floor looks bad.
Only once the coating is off can the actual condition of the stone be established. Until then any assessment is guesswork.
Why it would be chosen
- The coating is peeling, scuffing, yellowing or wearing through in traffic lanes.
- The floor looks plastic, patchy or cloudy rather than like stone.
- A previous sealer was applied unevenly, or was the wrong product for the material.
- Nobody can tell what the stone actually looks like, which makes any further decision impossible.
Limits
- Some coatings have bonded so firmly that mechanical removal is the only route, which turns this into a grinding job.
- Stripping can reveal damage that the coating was concealing. That is not new damage, but it can be an unwelcome surprise, so it is flagged as a possibility upfront.
- Removal alone rarely leaves a finished surface; refinement normally follows.
When it is not needed
- The stone carries an impregnating sealer rather than a topical coating. Impregnators sit inside the stone, do not peel, and are not removed as a matter of course.
- The existing coating is sound, appropriate and doing its job.
- The dullness is residue on the surface — soap or mineral film — which cleans off without stripping.
Stage 6
Stain Removal
Drawing absorbed substances back out of the stone with poultices. A different problem from etching, and often confused with it.
What it does
A stain is a substance that has been absorbed into the stone's pore structure. Removing it means drawing it back out, which is done with a poultice — an absorbent medium held against the surface, sometimes for an extended period.
The method depends entirely on what the substance is. Oil, organic matter, rust and ink all behave differently and need different treatment; using the wrong one can set the stain permanently.
Etching is not staining and is not treated this way. An etch is a physical change to the surface caused by acid, and it is corrected by refinishing, not by drawing anything out.
Why it would be chosen
- Oil or grease has darkened stone around a cooktop, sink or serving area.
- Organic staining from leaves, food or drink has discoloured the surface.
- Rust has appeared from metal fixings, furniture feet, or iron within the stone itself.
- A dark patch will not dry out, indicating something absorbed rather than sitting on top.
Limits
- Stain removal is genuinely uncertain work, and this is the area where honest expectations matter most. Results depend on the substance, the stone's porosity, and how long it has been there.
- Multiple treatments are often required, and some stains lighten substantially without disappearing.
- Deep oil in light, porous stone sometimes never returns fully to original — we would rather say that upfront than after taking payment.
When it is not needed
- The mark is an etch. It will look like a stain to most people, but poulticing does nothing for it.
- The discolouration is on the surface and cleans off.
- The variation is the stone's natural colouring, which occasionally gets mistaken for staining.
Stage 7
Grout & Epoxy Joint Restoration
Failed joints raked out and rebuilt properly, rather than smeared over with fresh grout on top of old.
What it does
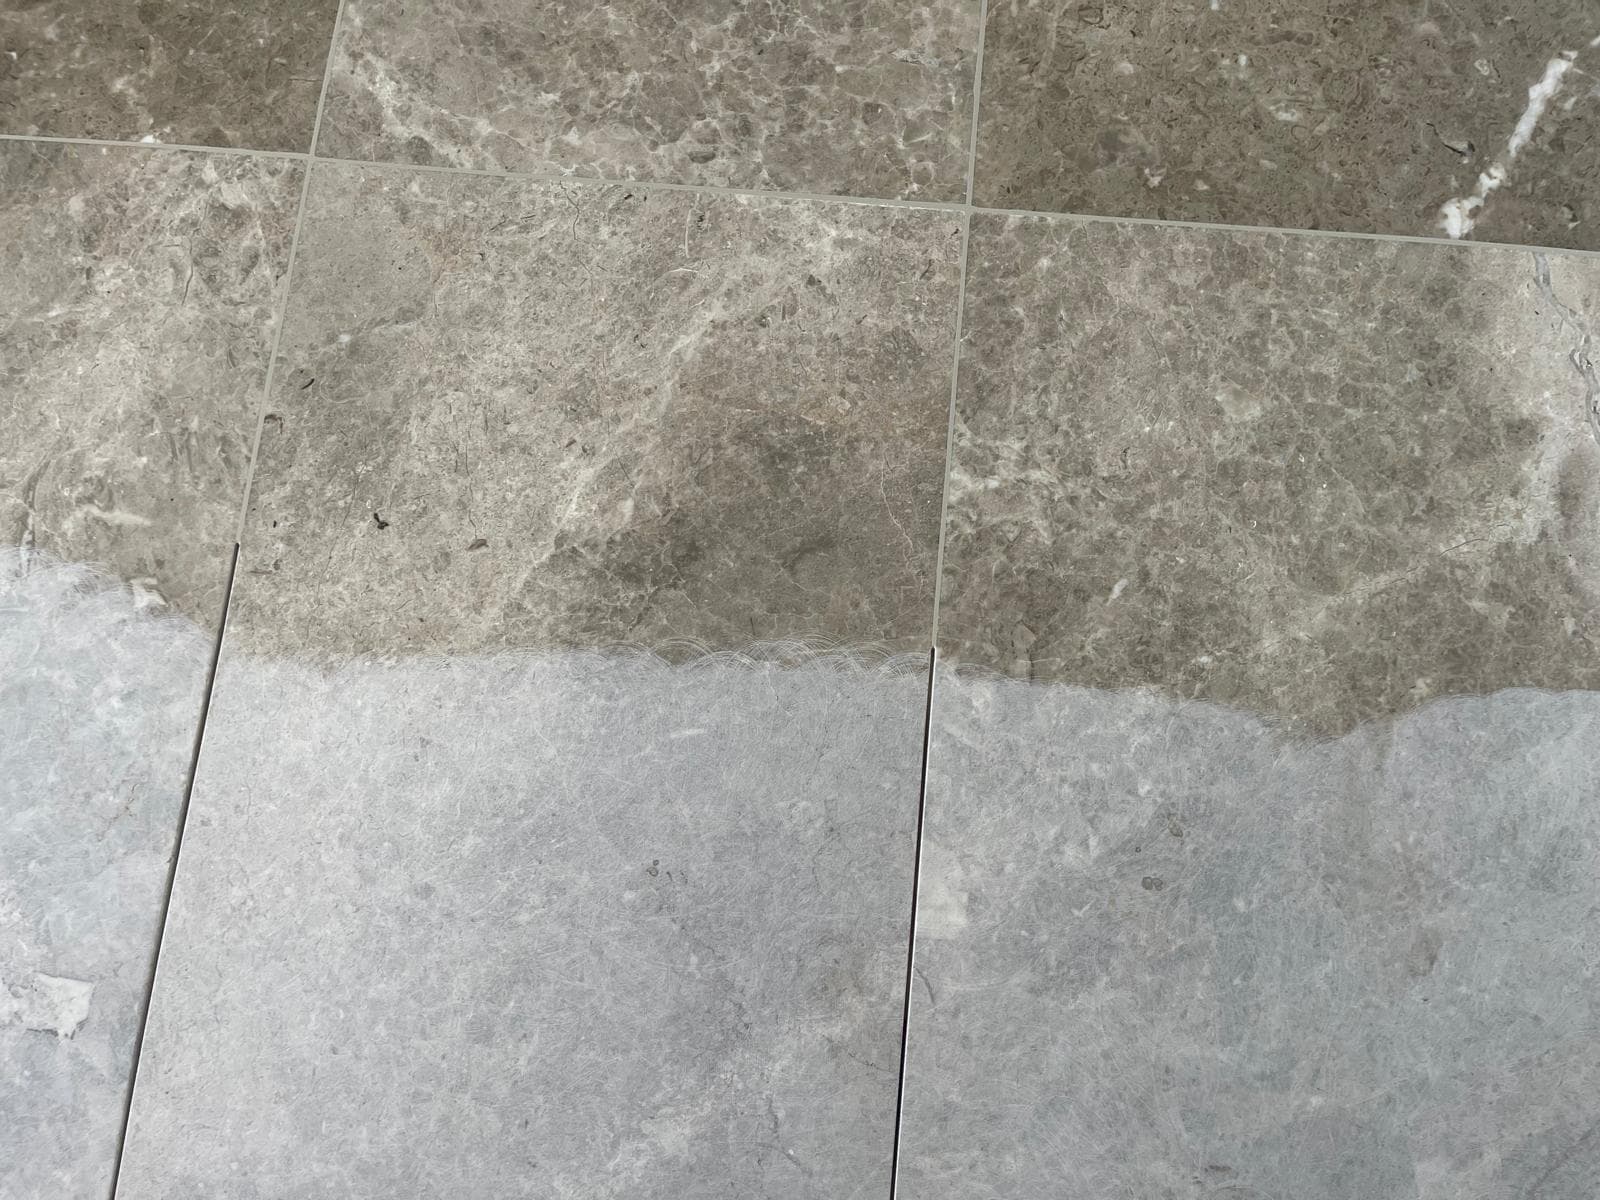
Joint restoration means removing failed grout from the joint and rebuilding it. Where appropriate, epoxy is used instead of cement-based grout for its resistance to water and staining.
The distinction that matters is between rebuilding a joint and covering one. Spreading new grout over old failed grout looks acceptable briefly and fails in the same places, because the underlying problem was never removed.
Joint work is usually done before final refinement, so the new joint can be worked flush with the stone and finished with it.
Why it would be chosen
- Grout has cracked, crumbled, or washed out, leaving open joints.
- Joints are permanently discoloured and no longer respond to cleaning.
- Water is getting through the joints, which in a shower or wet area is a building problem rather than a cosmetic one.
- Movement or settlement has opened joints across an area.
Limits
- Epoxy is far more durable than cement grout but is less forgiving to install and needs to be worked correctly.
- An exact colour match to existing grout elsewhere in a space is not always achievable.
- Where joints have opened because the substrate is moving, rebuilding them does not stop the movement.
When it is not needed
- The grout is sound and only soiled — cleaning and sealing the joints will do.
- The joint is an expansion or control joint, which is meant to be flexible and must not be filled with rigid grout.
- The discolouration is on the stone beside the joint rather than in the grout itself.
Stage 8
Sealing
An impregnating sealer to slow absorption. Buys time against staining — it does not make stone stain-proof.
What it does
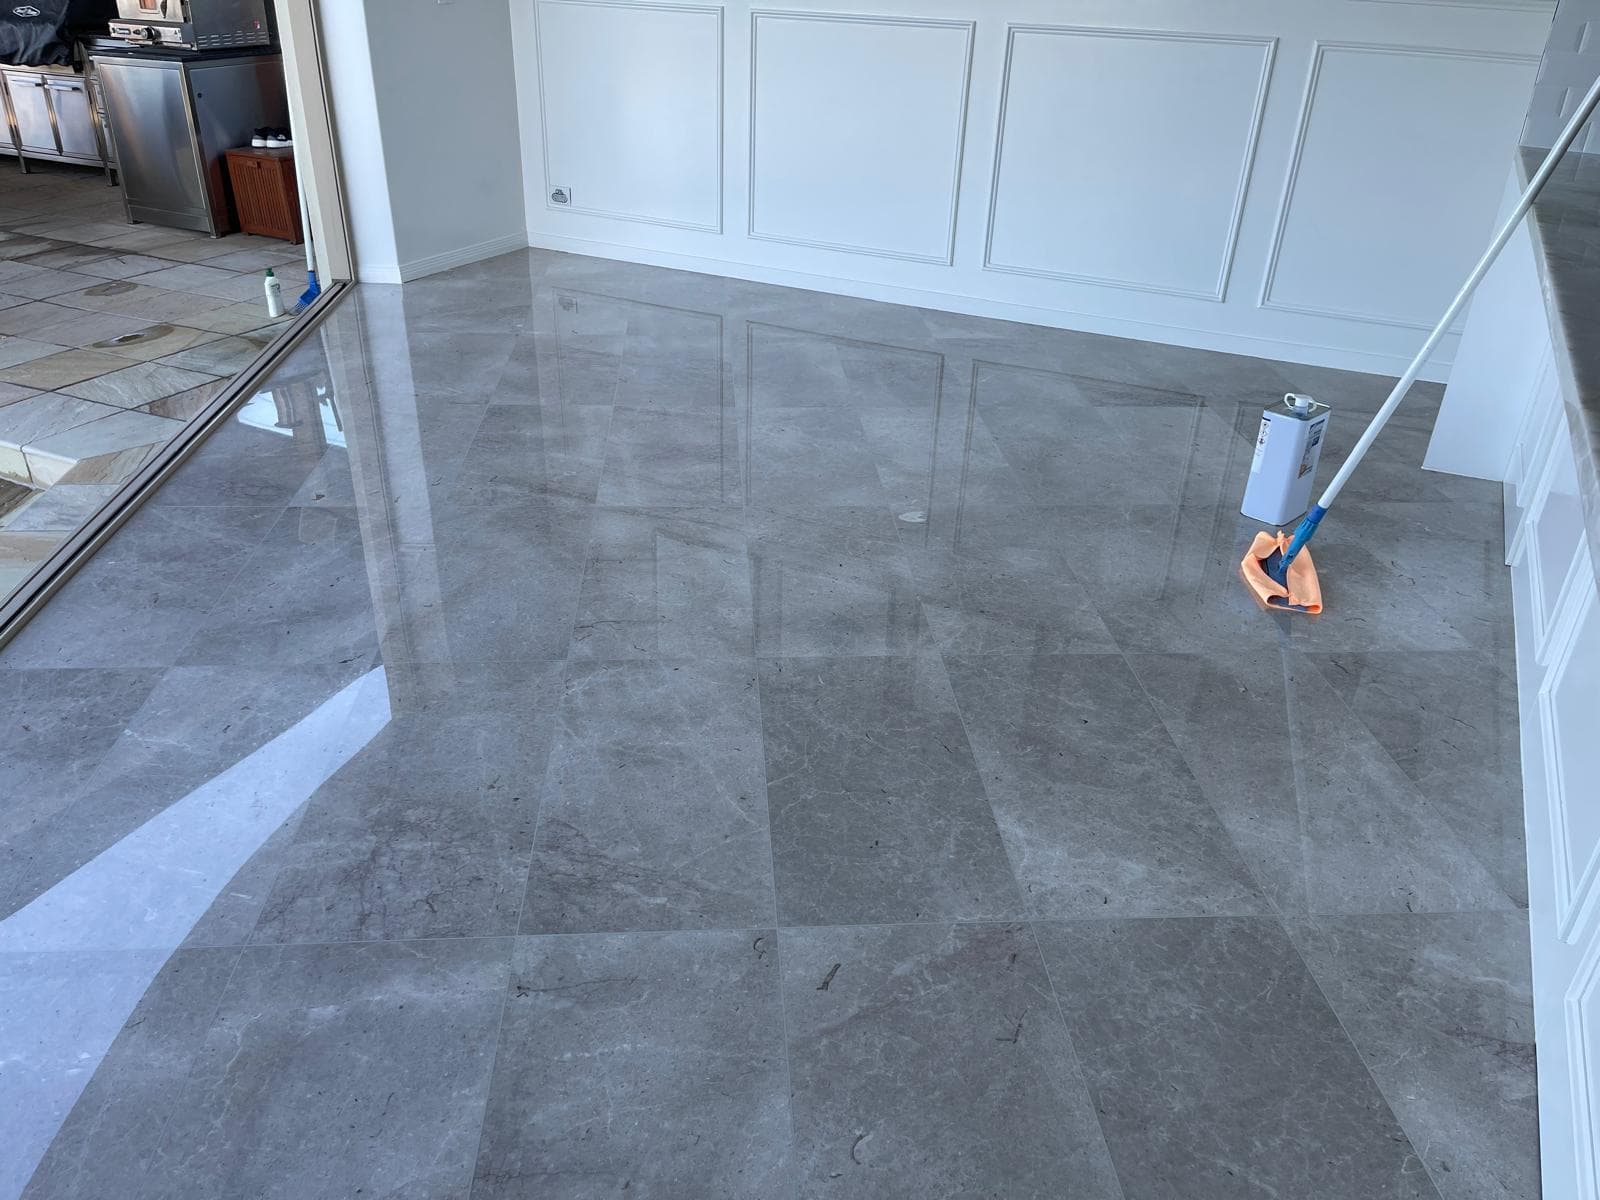
An impregnating sealer soaks into the stone and lines its pores, reducing how readily liquids are absorbed. It does not form a film on the surface and does not change the finish when correctly applied.
This is a fundamentally different product from a topical sealer or gloss coating. Impregnators cannot peel because there is no layer to peel; topical coatings can and do.
Sealing is considered after the surface work is complete and the stone is dry. Sealing a damp floor traps moisture inside it.
Why it would be chosen
- The stone is porous — limestone, travertine, sandstone and some marble and granite absorb readily.
- The surface sees spills: kitchen benchtops, dining tables, bathroom vanities.
- Restoration has just exposed fresh stone, which is the ideal moment to protect it.
- A previous sealer has lapsed, shown by water darkening the stone rather than beading.
Limits
- A sealer slows absorption; it does not prevent staining. Spills still need attention, just less urgently.
- It provides no protection whatsoever against acid etching. That is a surface-chemistry problem and no sealer stops it.
- Sealers have a service life that varies with traffic, cleaning regime and the stone. Periodic reassessment is realistic; a permanent seal is not.
- Specific product performance figures are not quoted here — see the note on the sealing page about verifying manufacturer claims before they are published.
When it is not needed
- The stone is dense enough that sealing achieves very little. Some granite and most bluestone fall here, and sealing them is often money spent for no measurable benefit.
- An existing impregnating sealer is still performing — a simple water test establishes this.
- The surface is still drying after wet work.
- A topical coating is present, which must come off first rather than being sealed over.
Start from the problem instead
If you know what is wrong with the stone, these are the pages worth reading.
Not sure which stages your stone needs
That is the assessment, and it is the part worth getting right. Send through what you have and the condition can be read from photographs in most cases.