Before & After
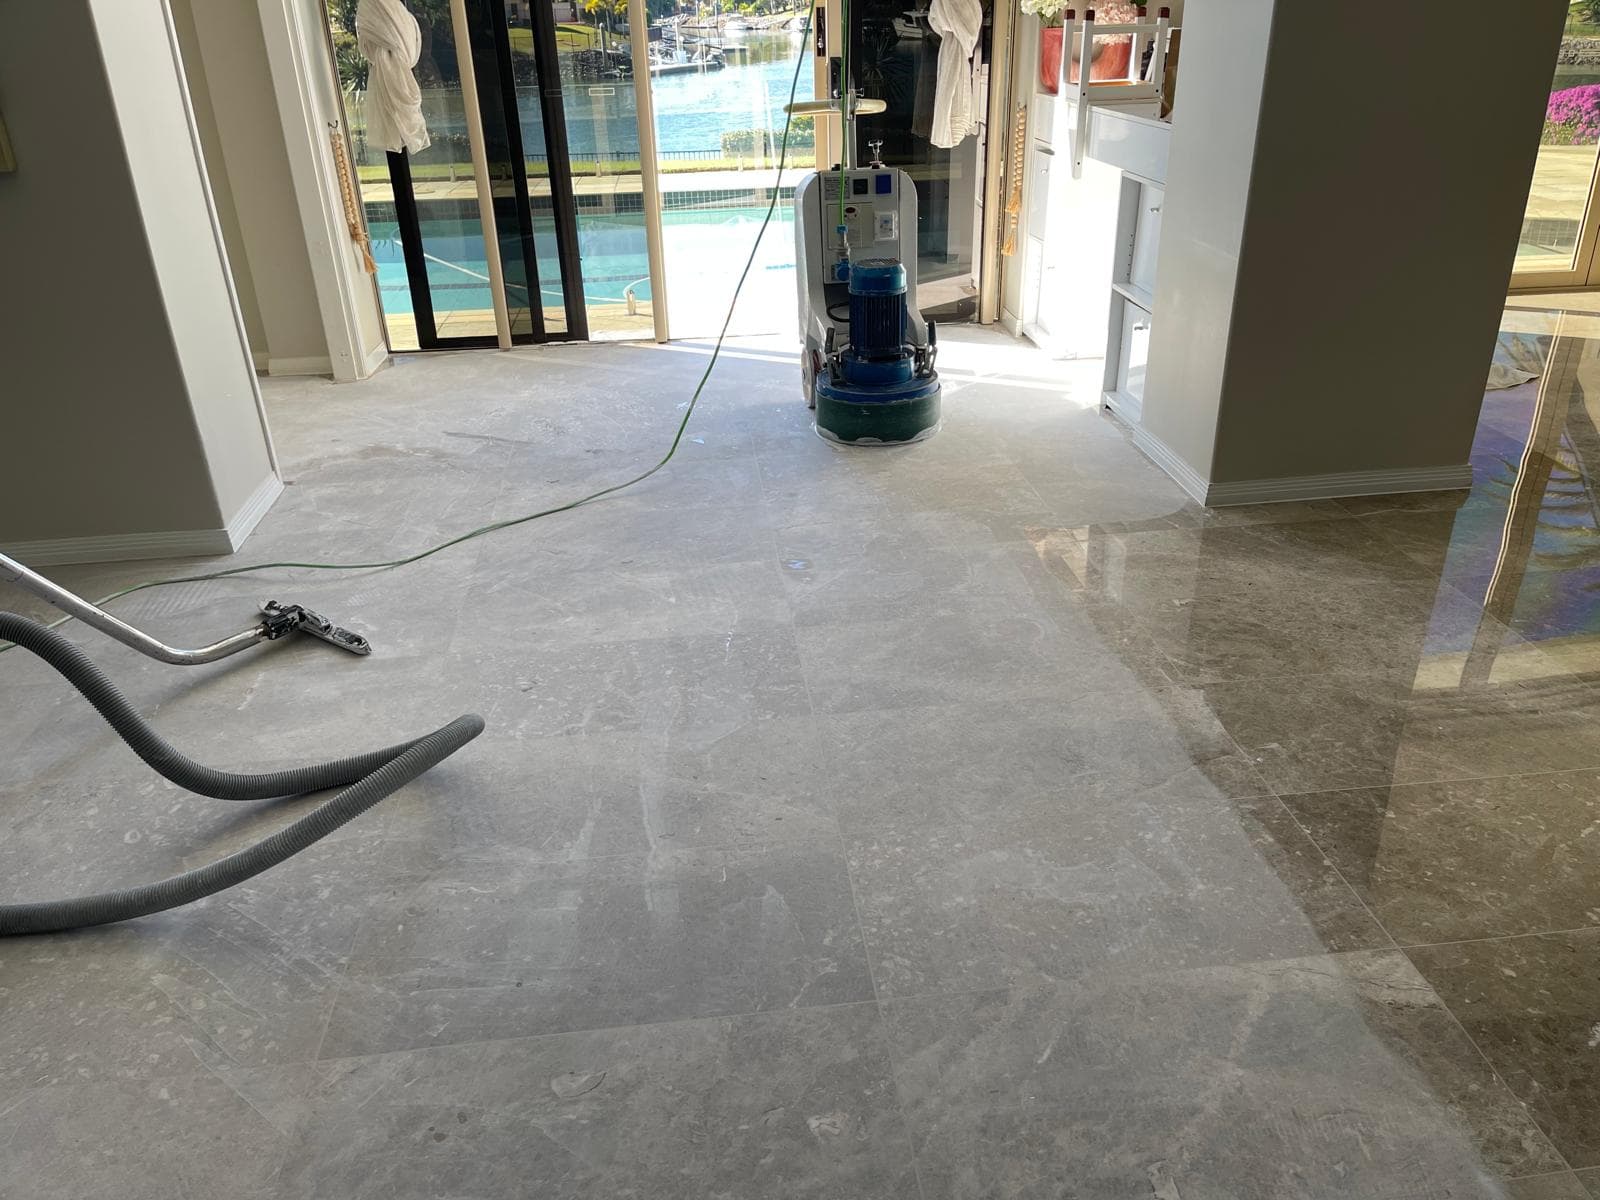
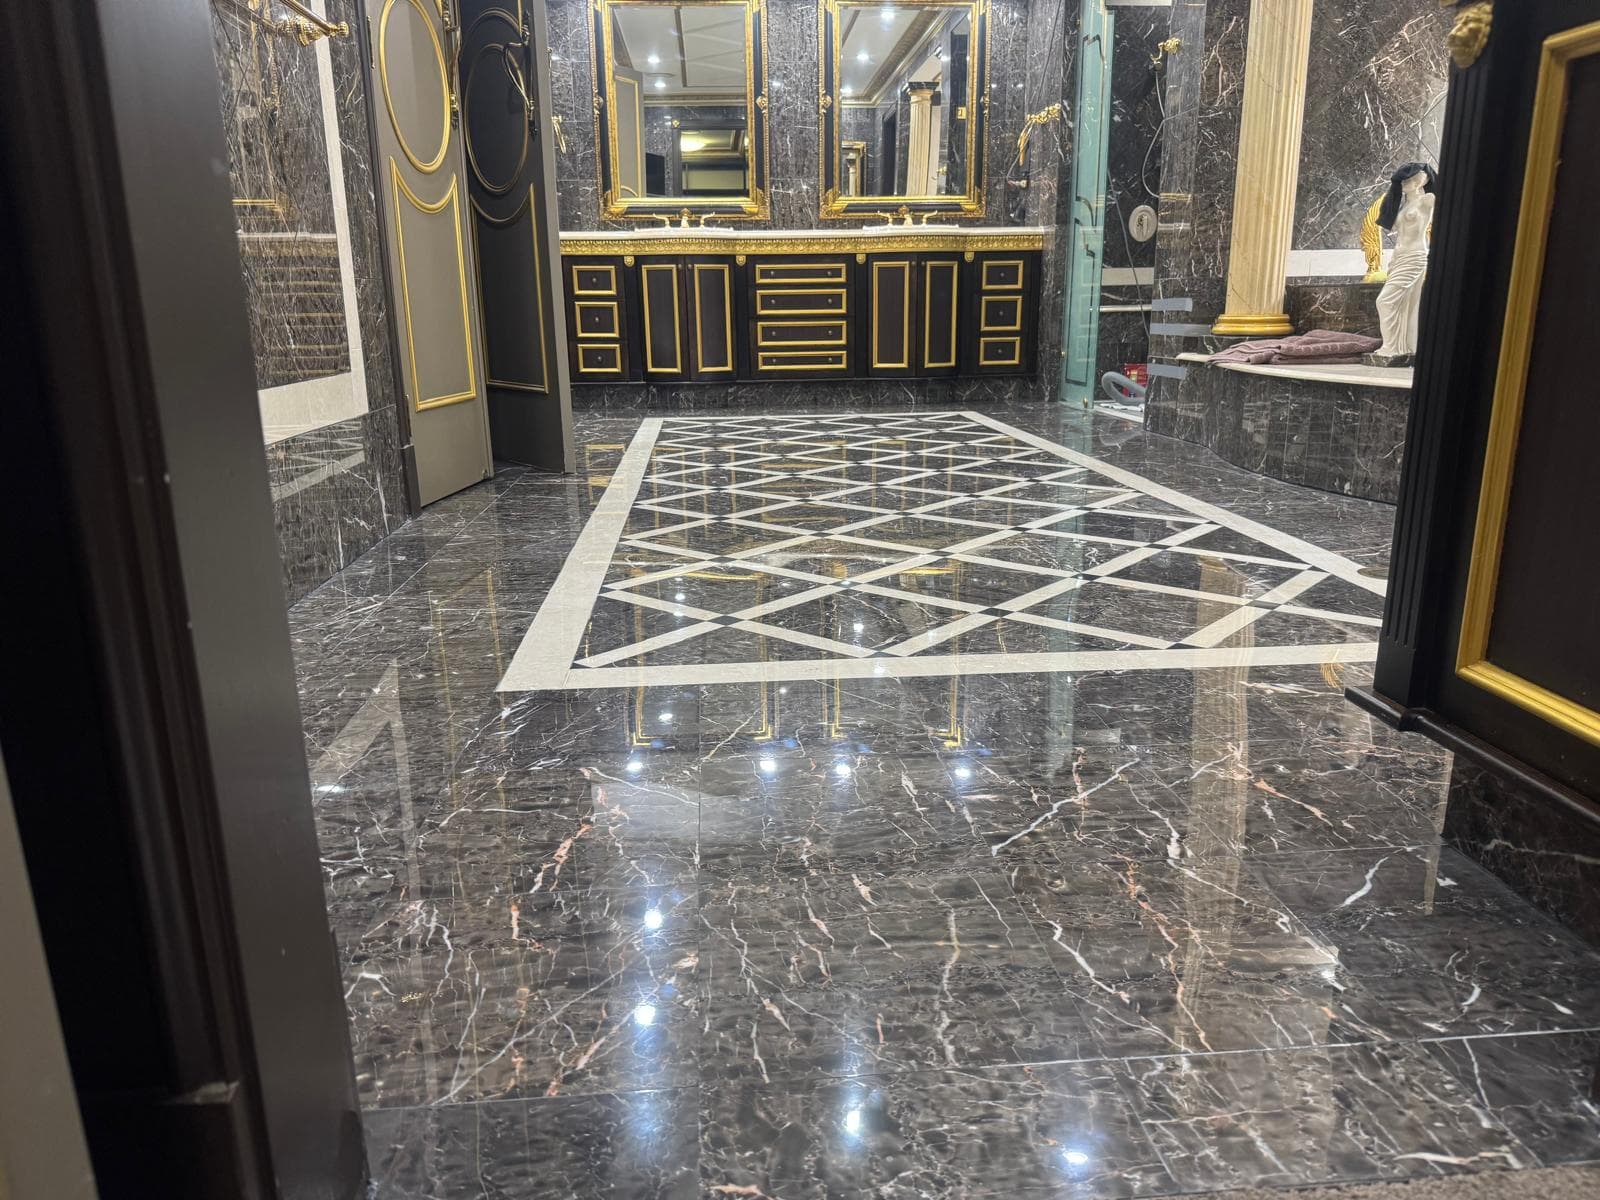
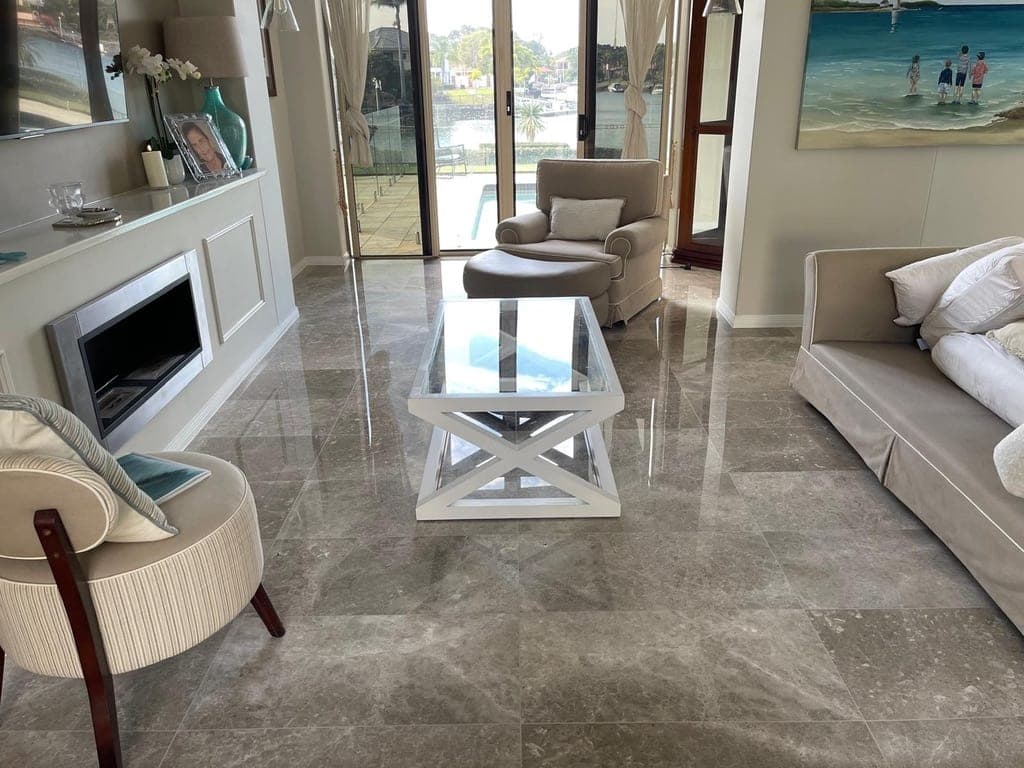
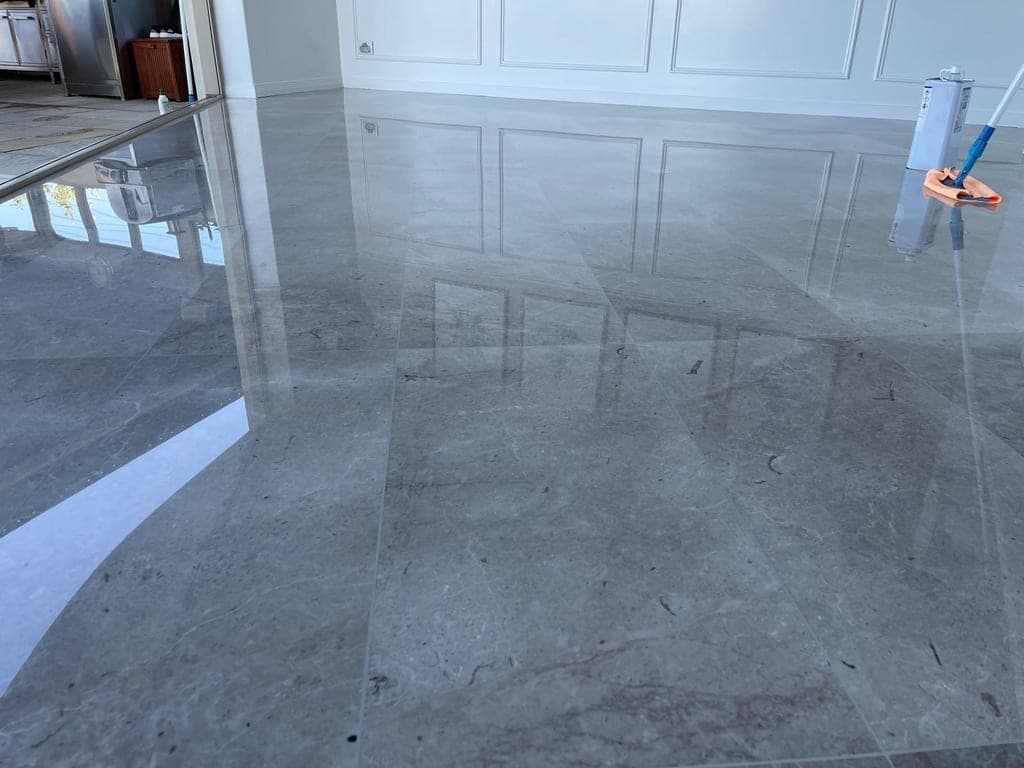
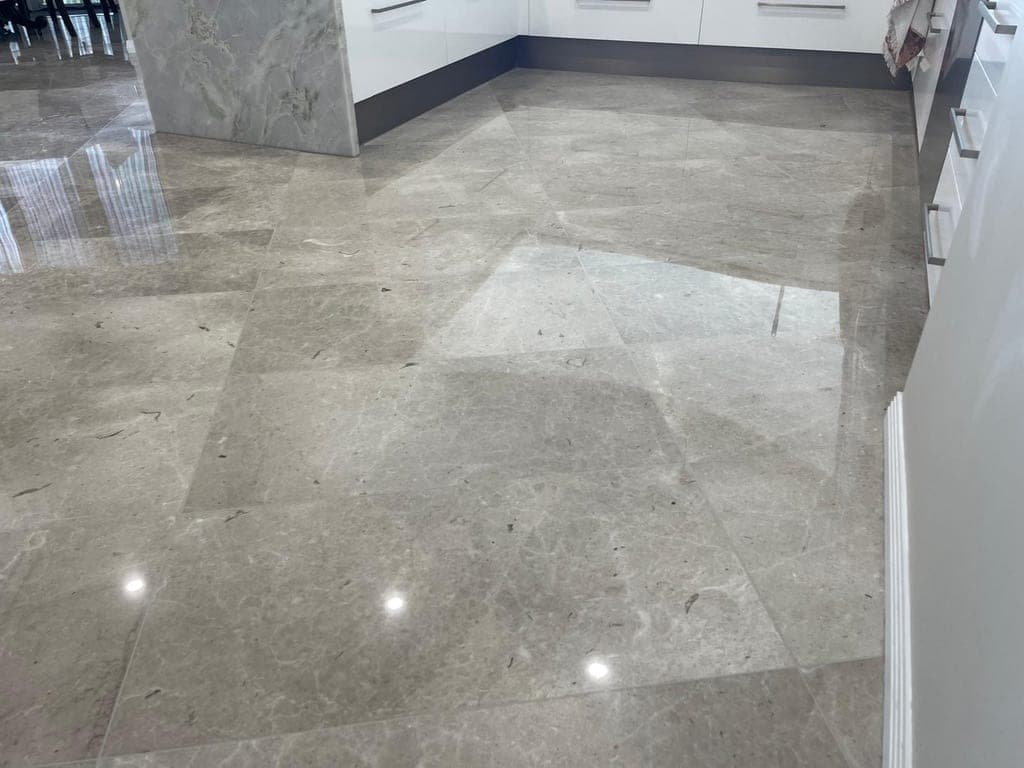
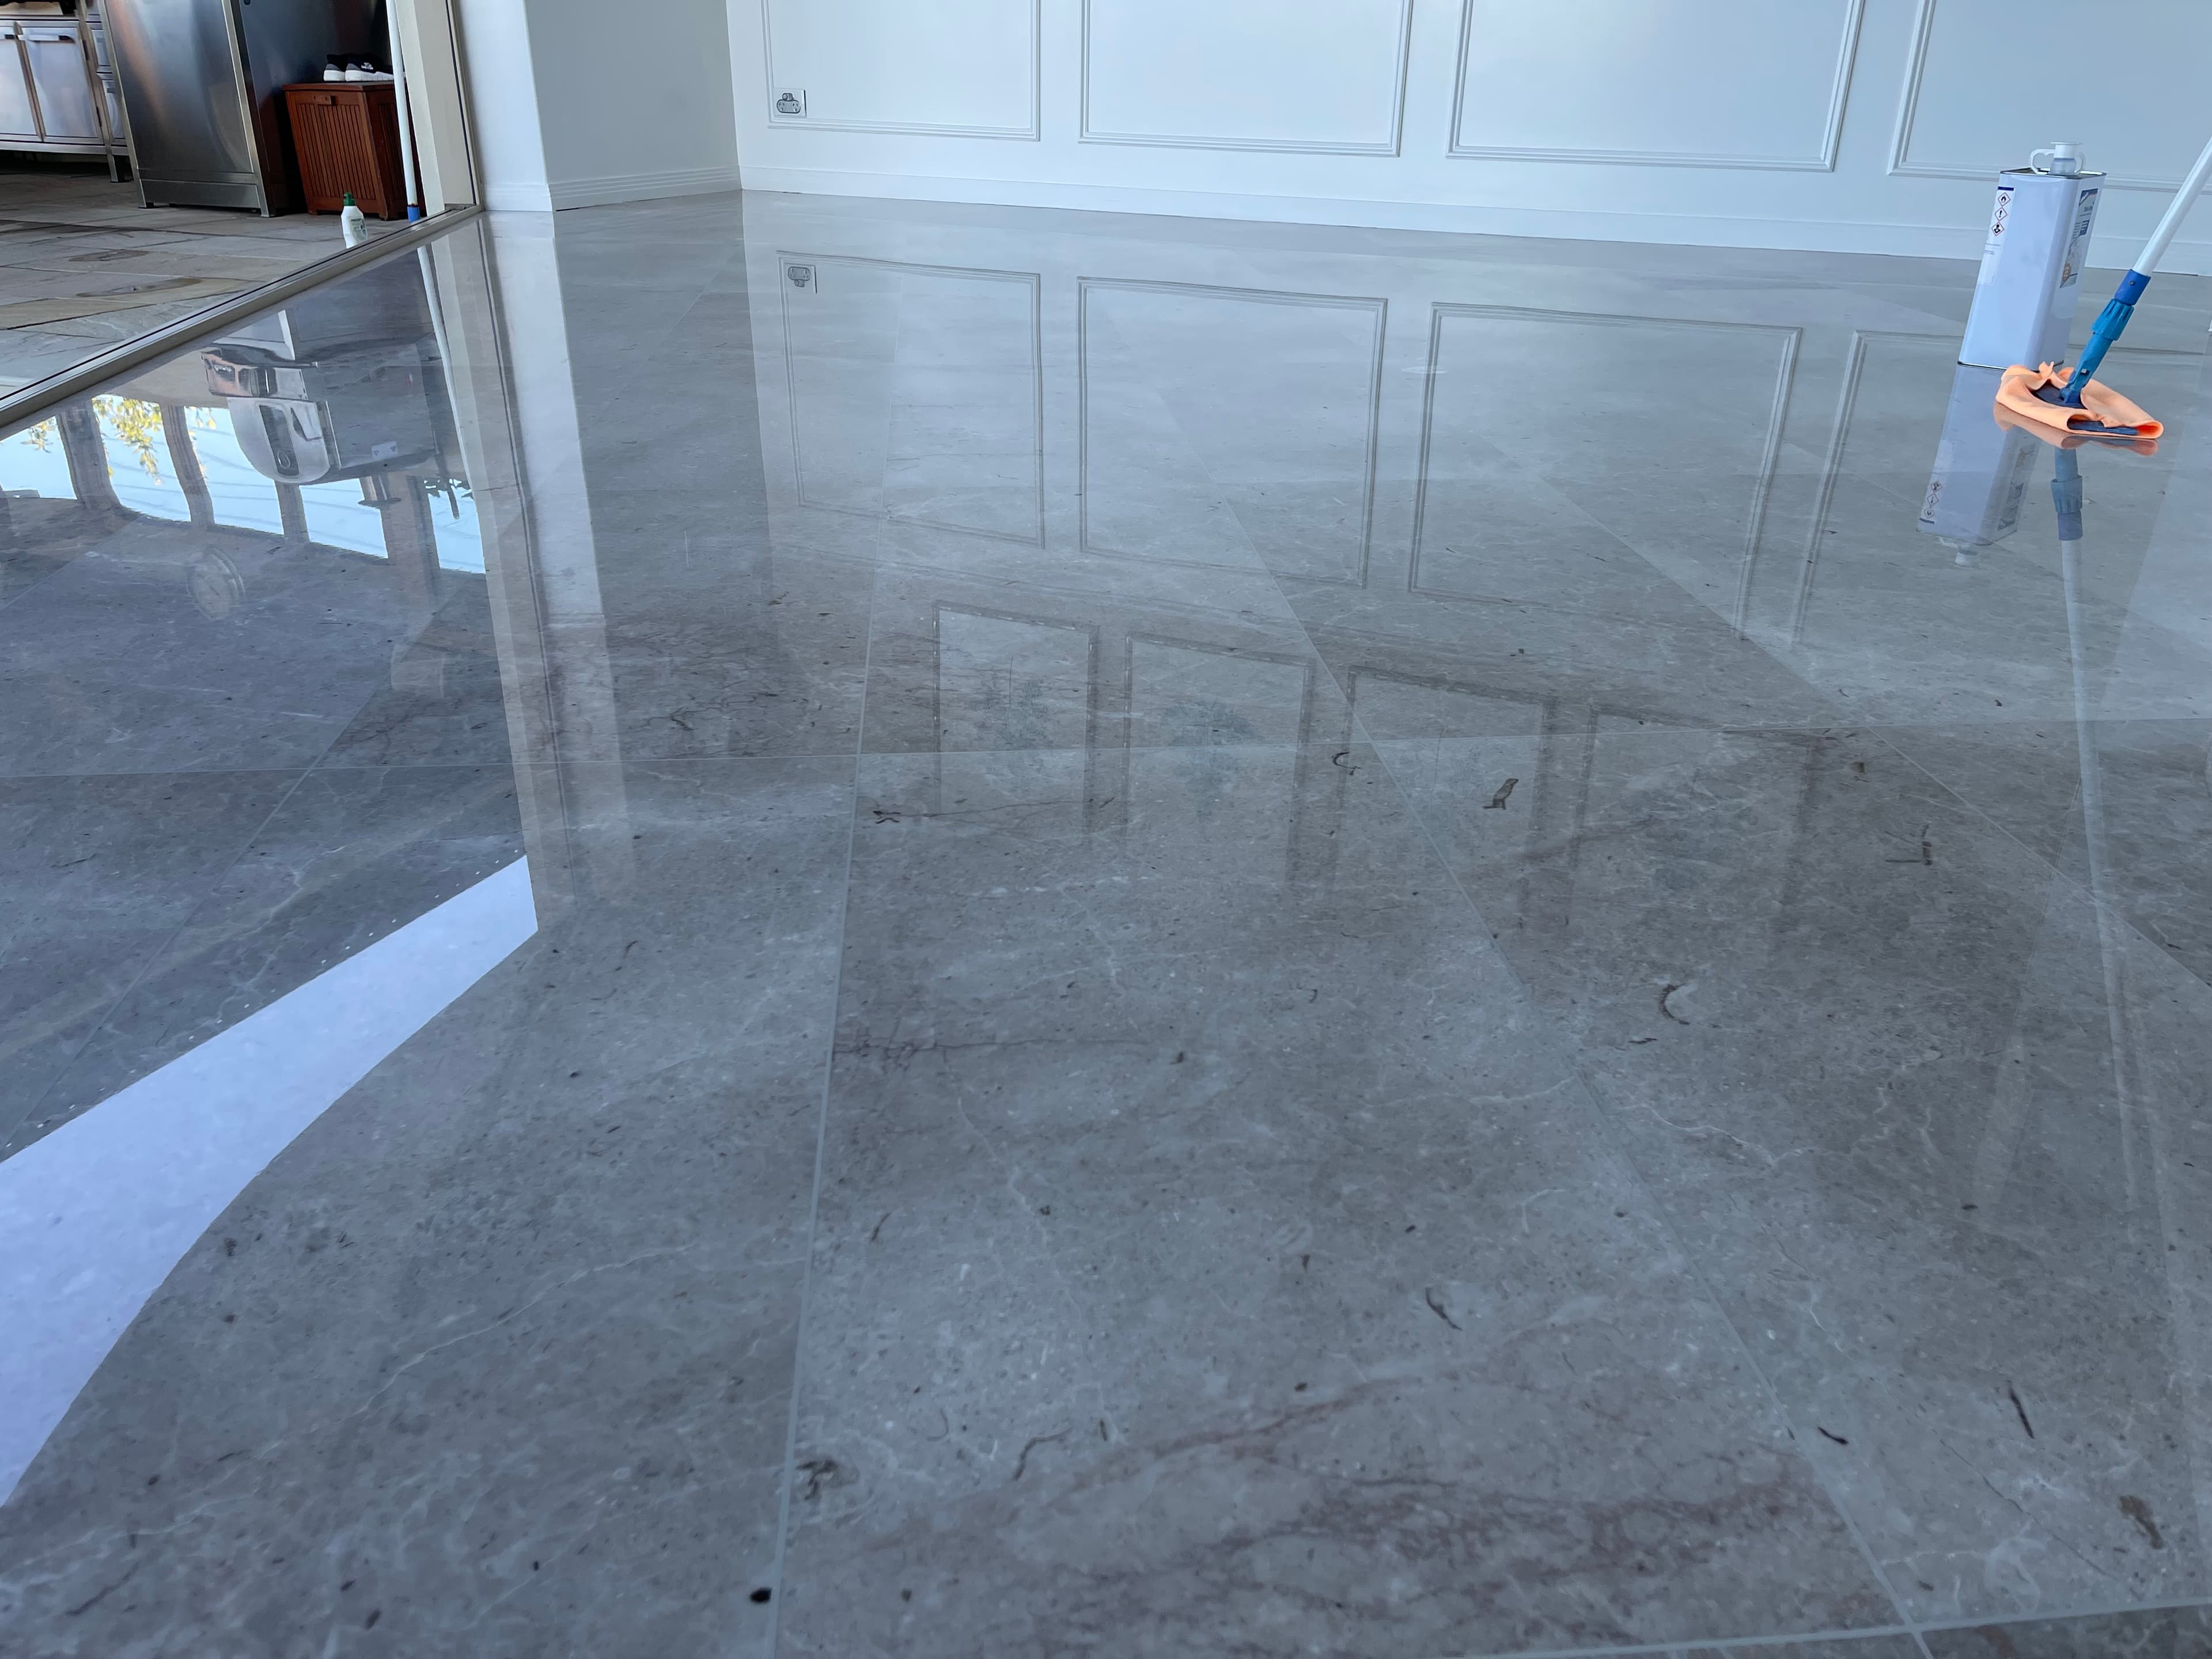
Drag each divider to compare the same surface before and after restoration. Every result here was achieved mechanically — grinding, honing and polishing the stone itself, with no coating applied to fake a shine.
 BeforeAfter
Living / TV area floor
 BeforeAfter
Dining area floor
 BeforeAfter
Kitchen floor
 BeforeAfter
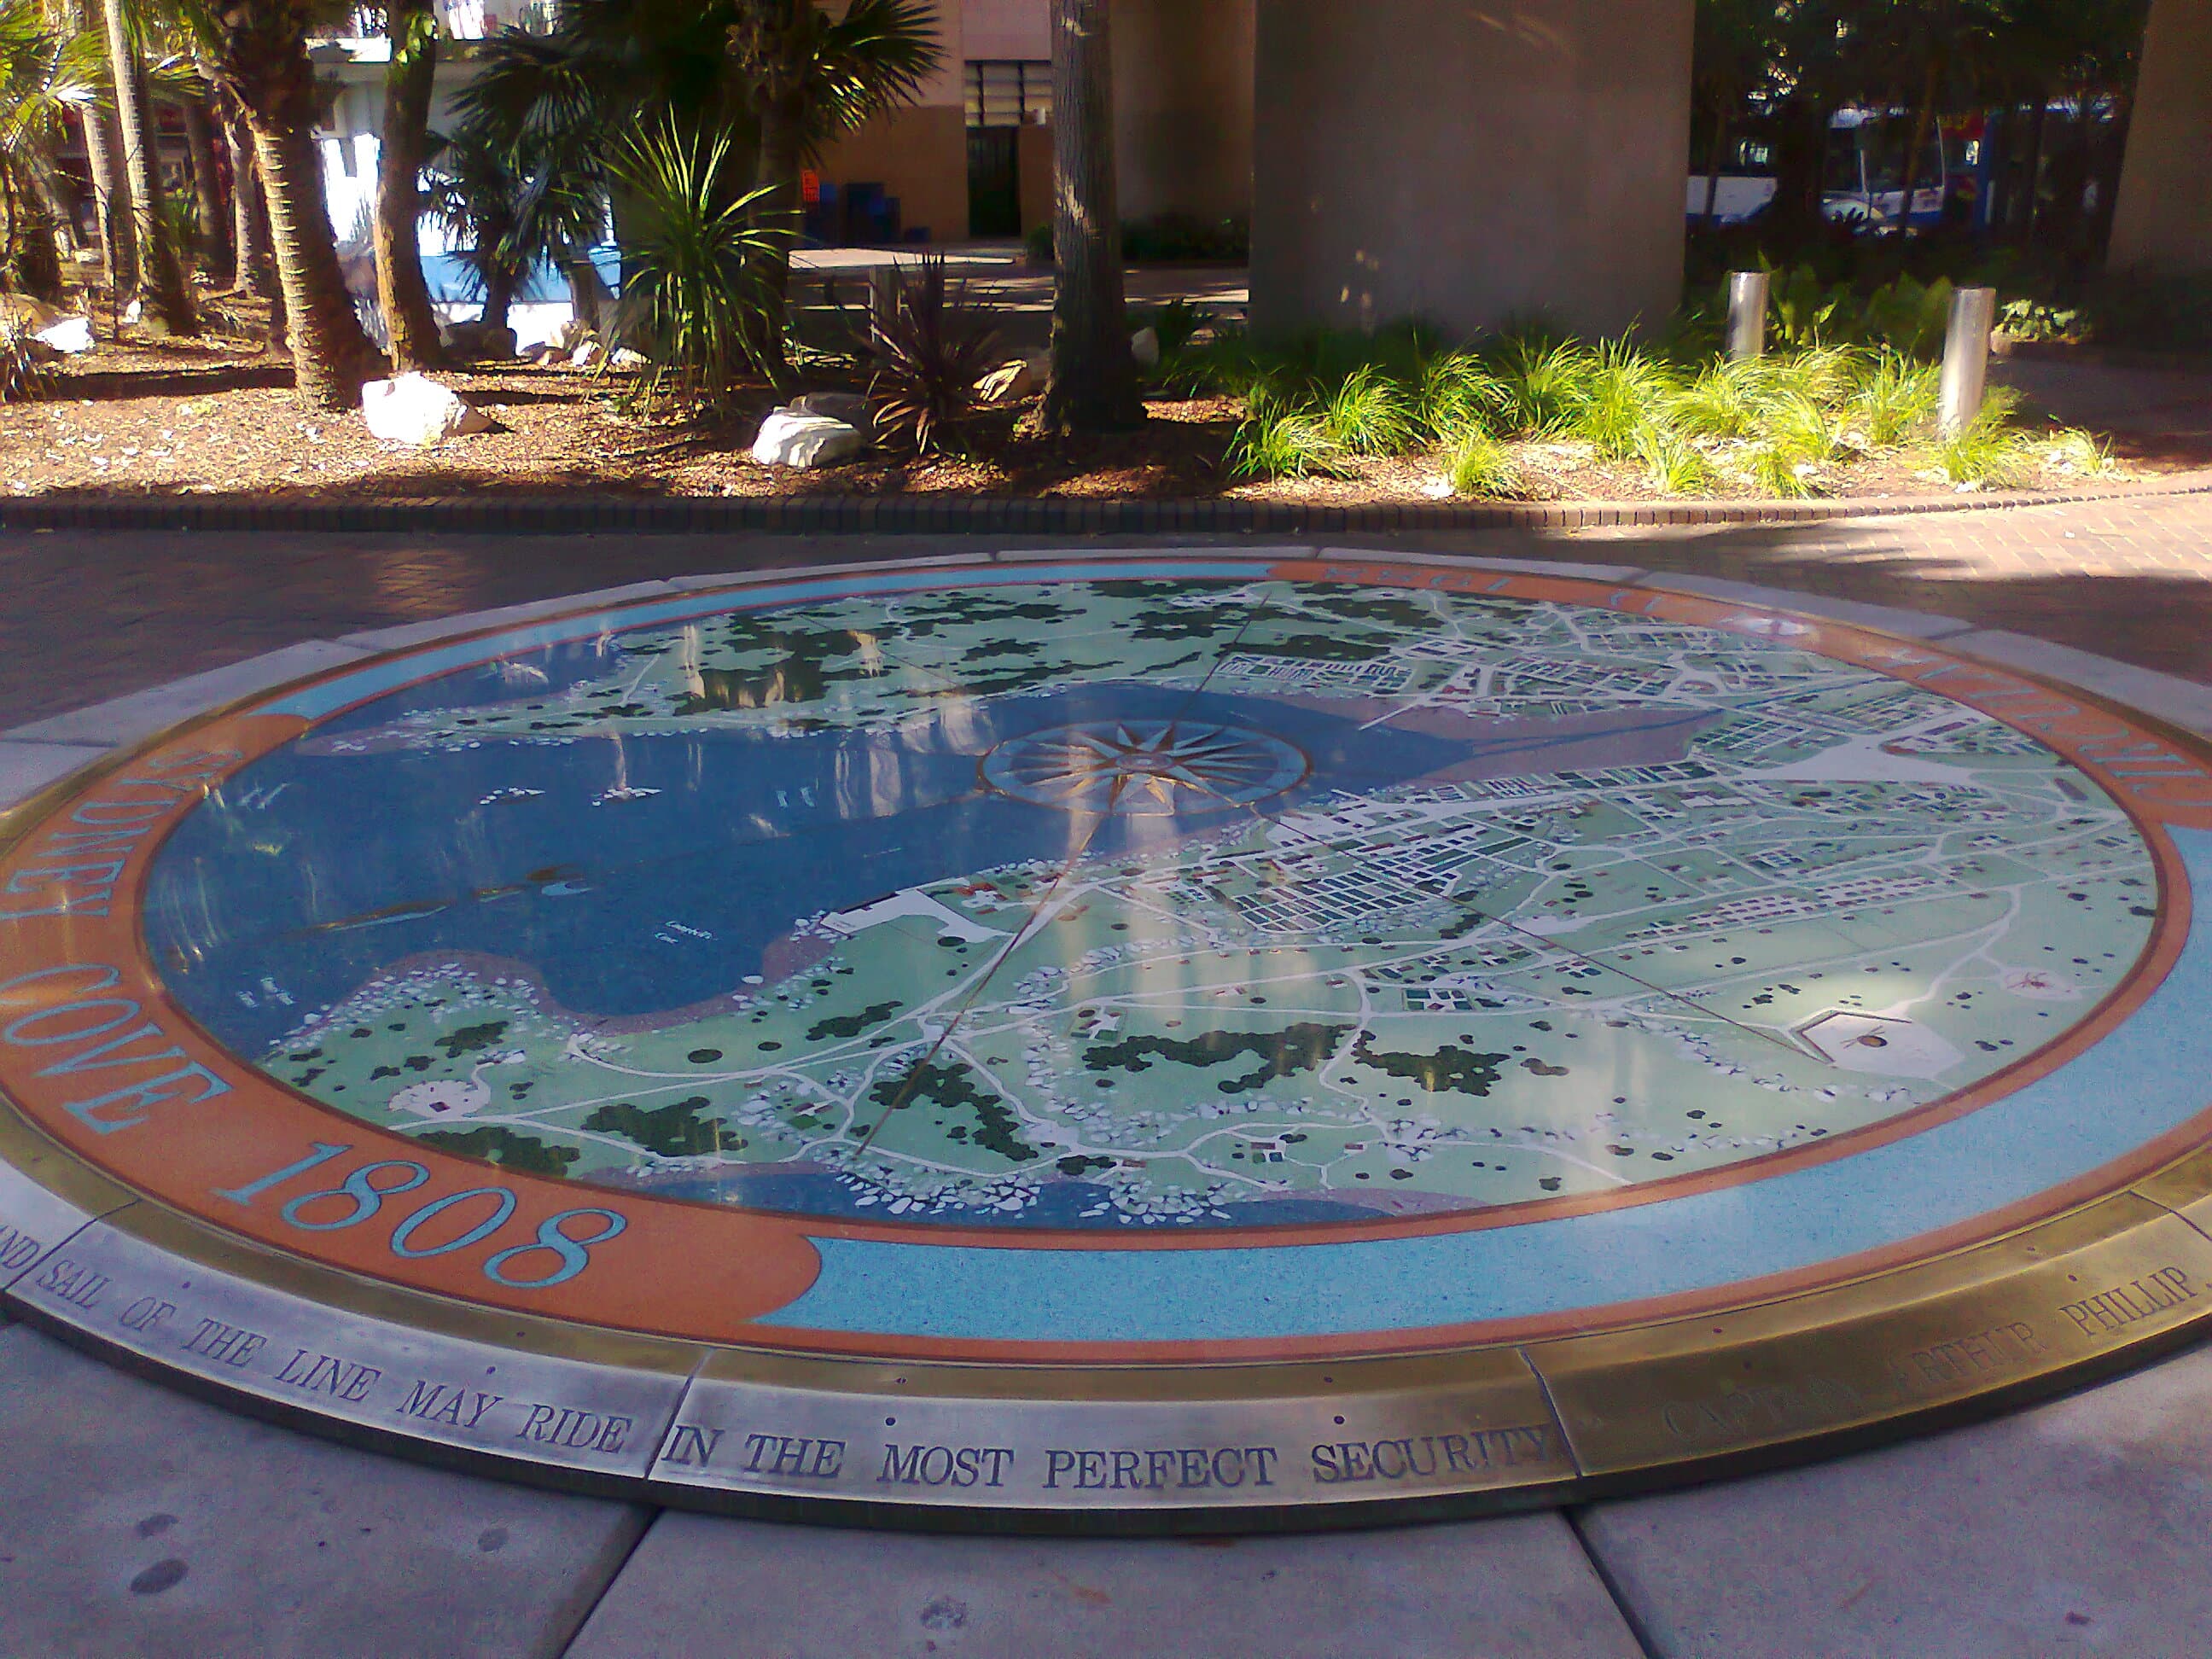
Sydney Cove 1808 Map, First Fleet Park
Before restoration, and after restoration by Tony Mastrorillo, circa 2007–2008.
 BeforeAfter
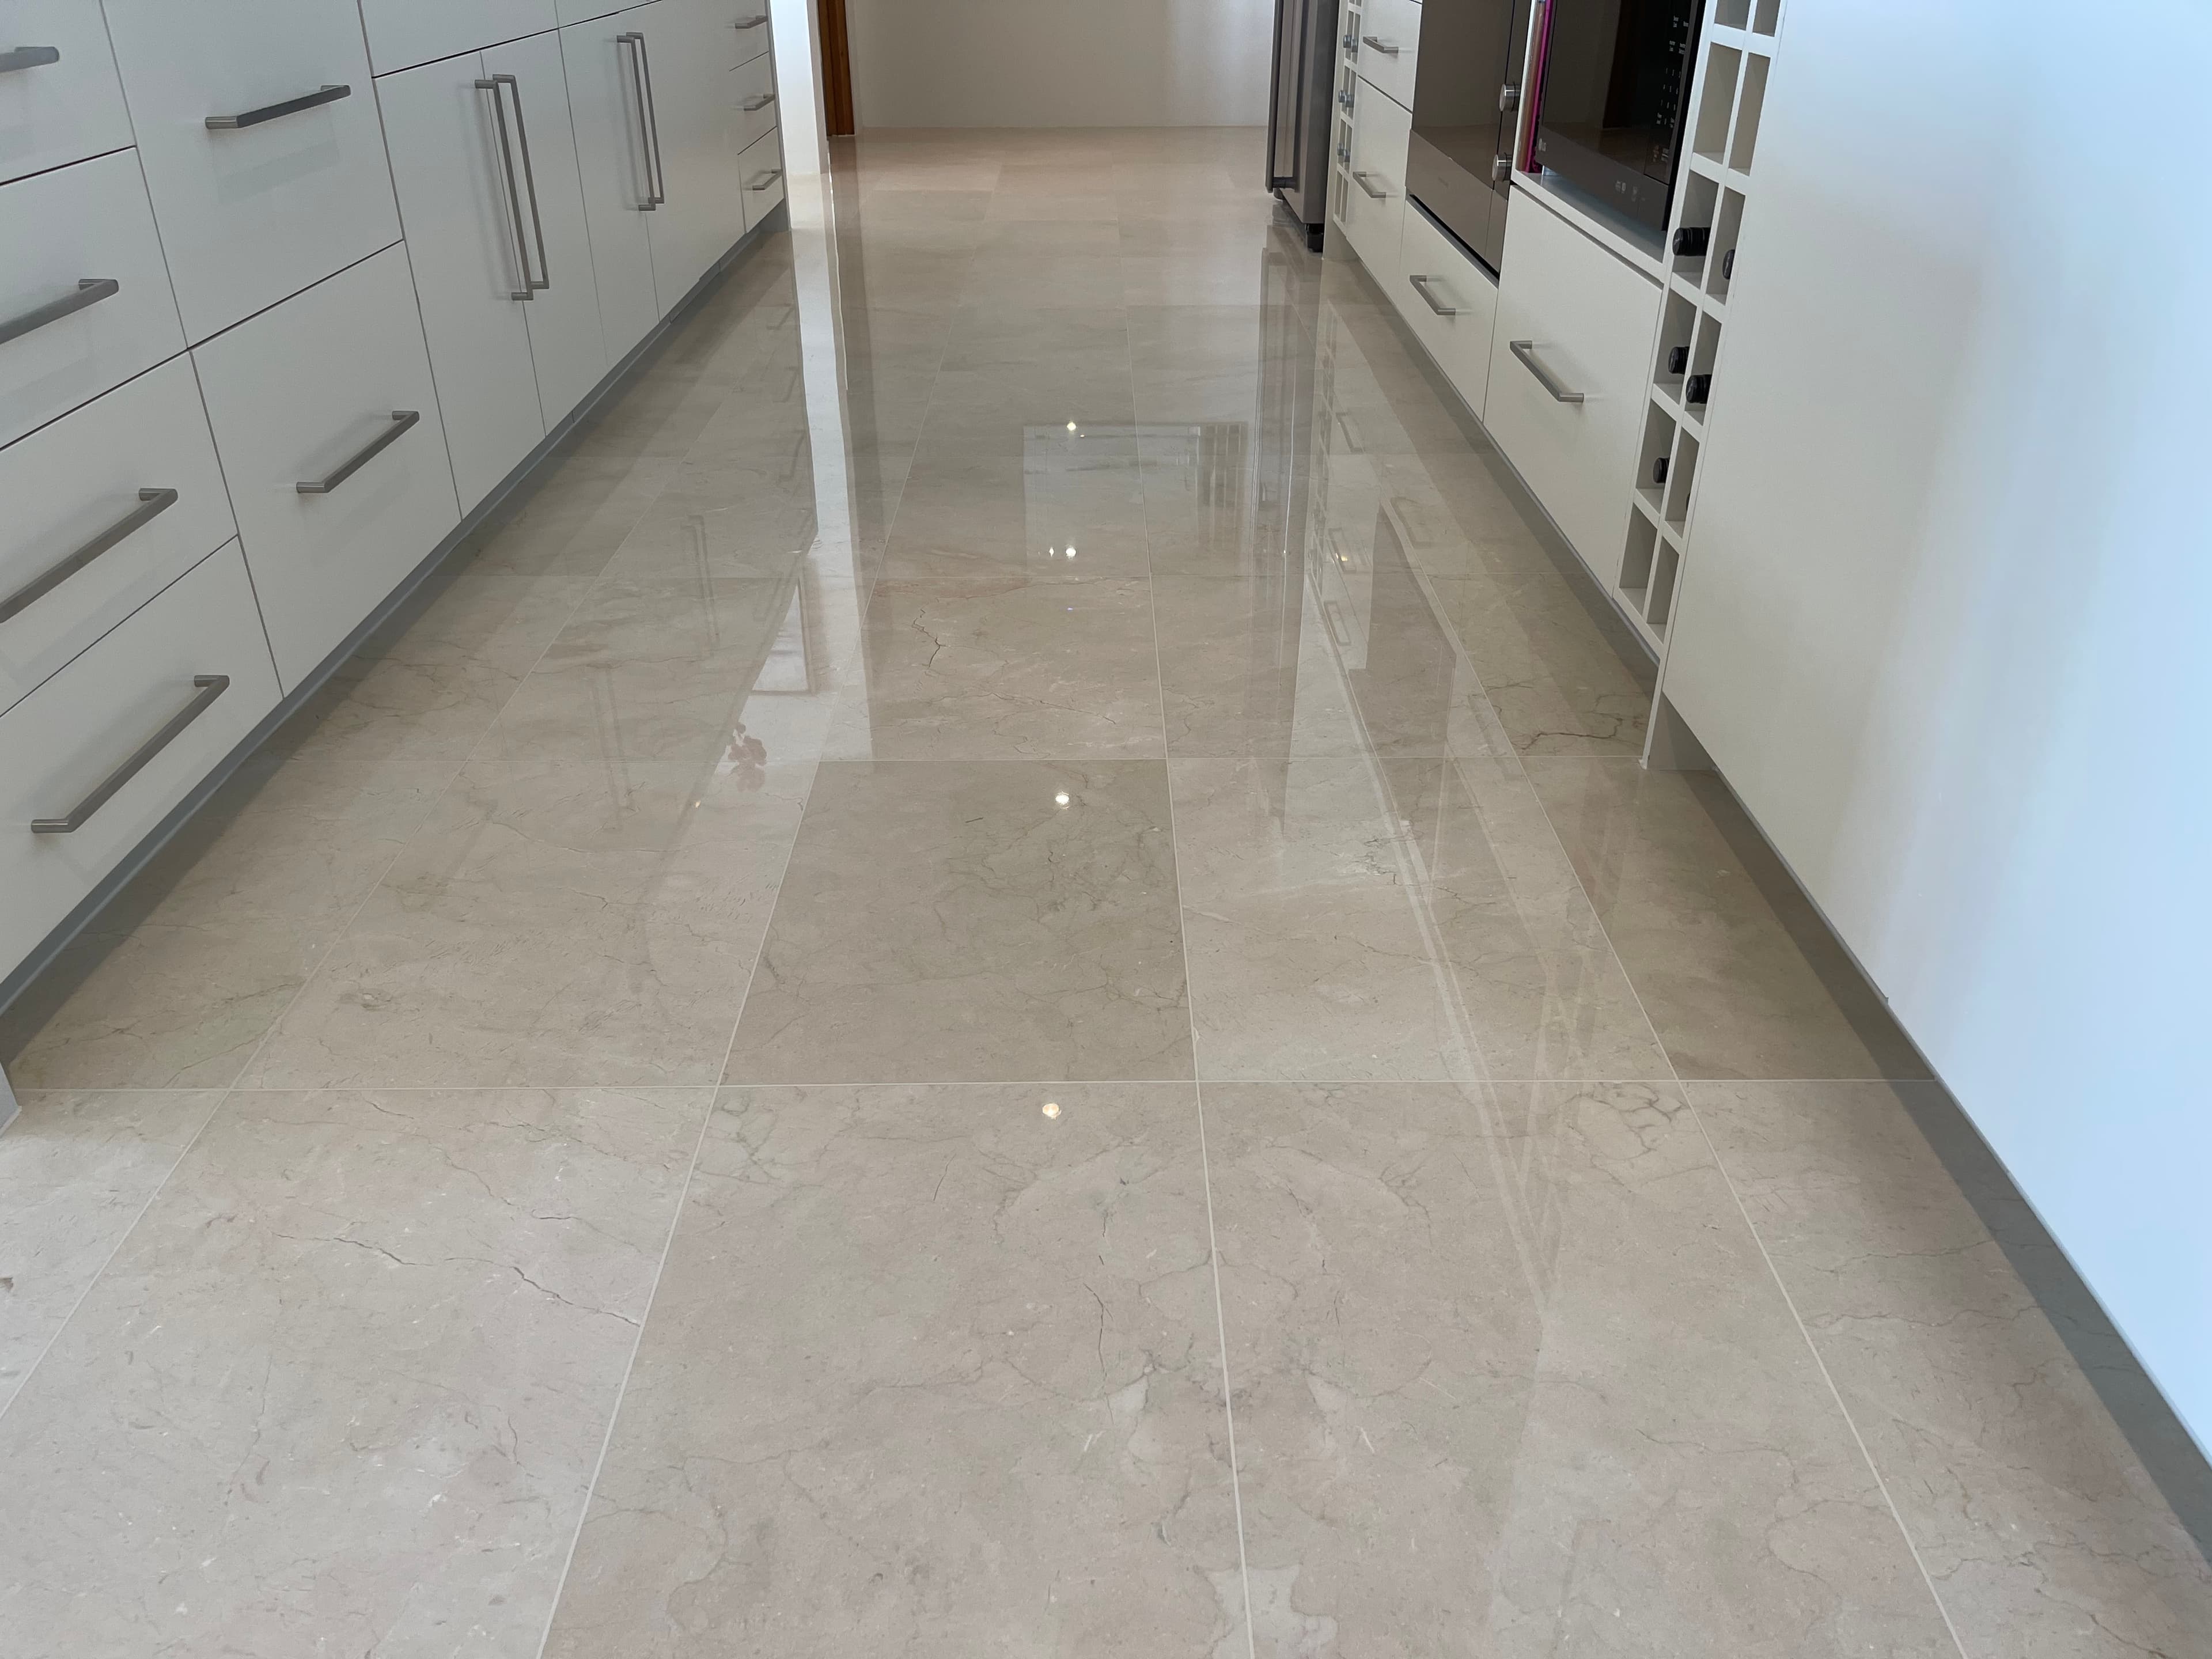
Full marble floor restoration
Diamond grinding to correct lippage and flatten the floor, then honing and mechanical polishing up to a mirror finish. No coating was applied — the reflection is the stone itself.
 BeforeAfter
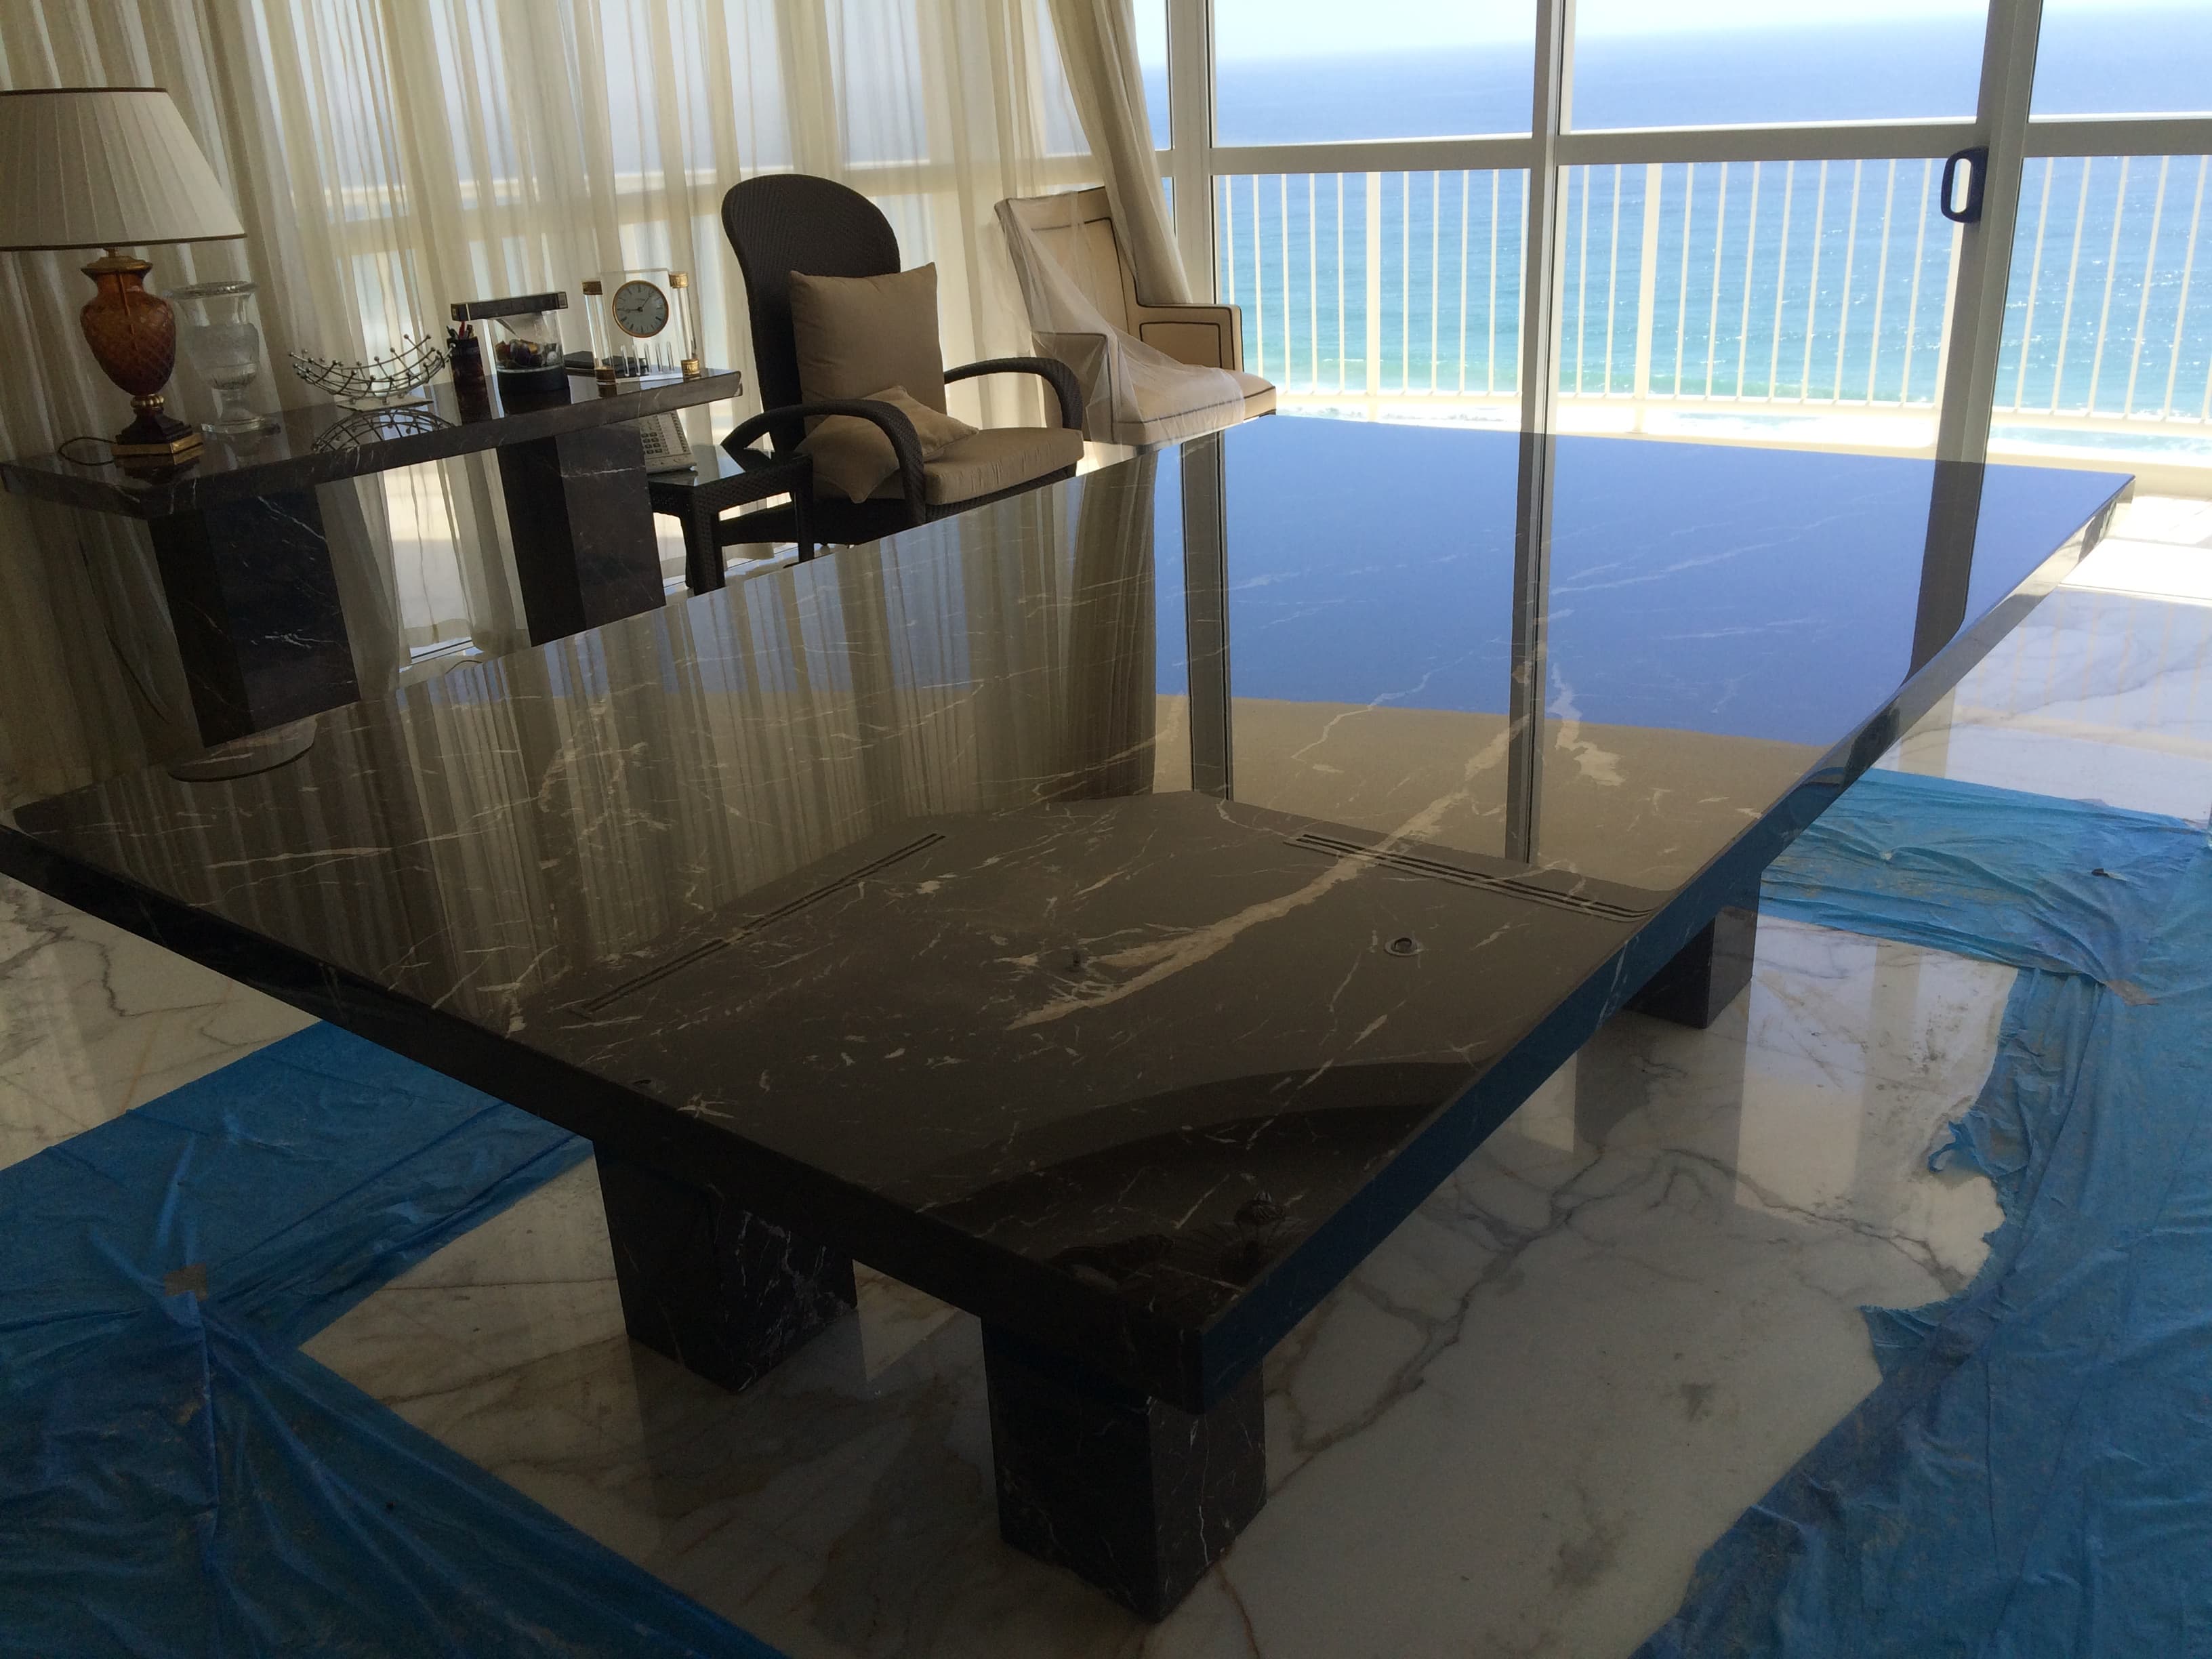
Nero Marquina table restoration
Etch marks, chips and scratches removed, edges reshaped, then polished and sealed. Black marble shows every inconsistency, so the grit progression has to be identical across the whole top.
 BeforeAfter
Stone floor polishing
A worn, traffic-marked surface taken back through the grits until the finish is even across the whole area rather than patched where the wear showed most.
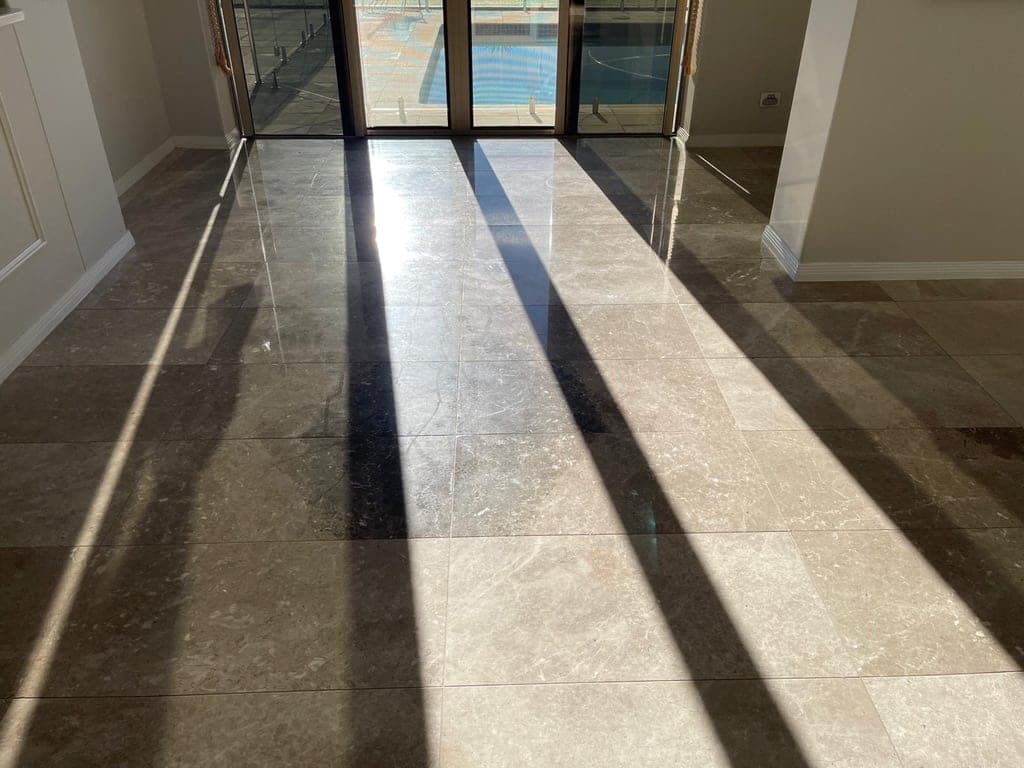
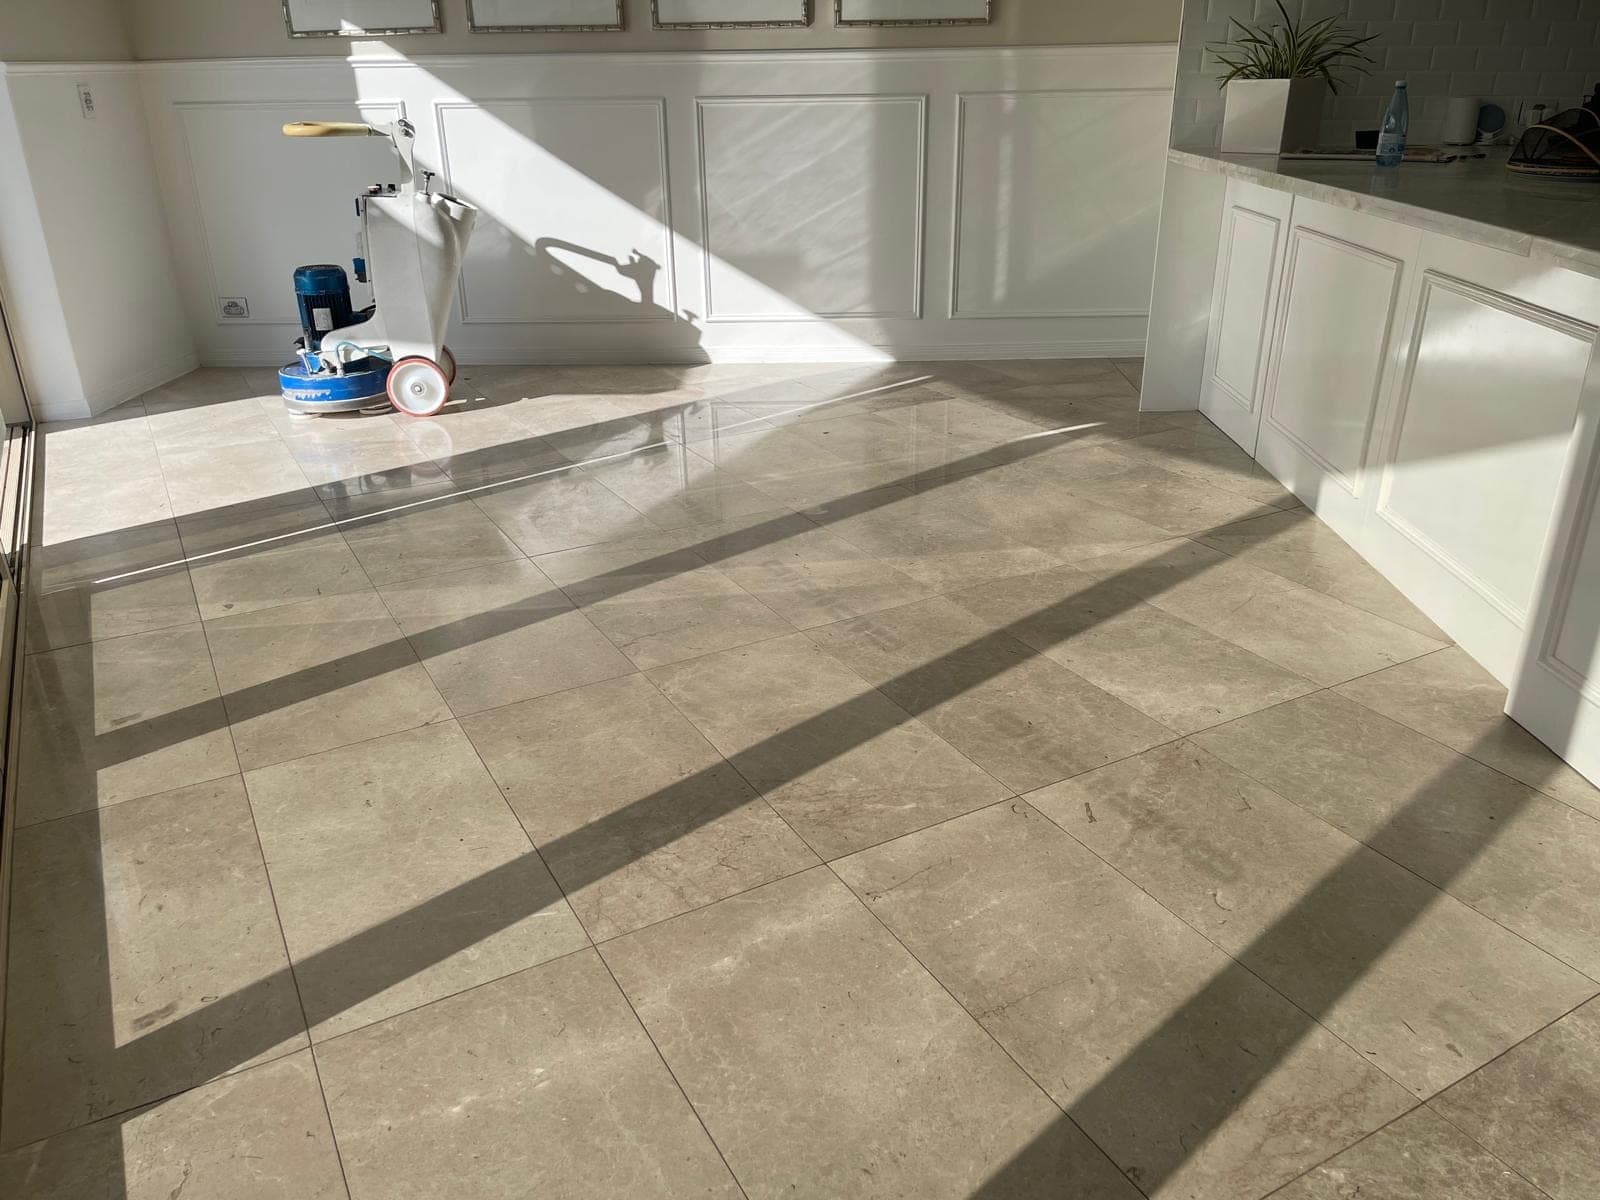
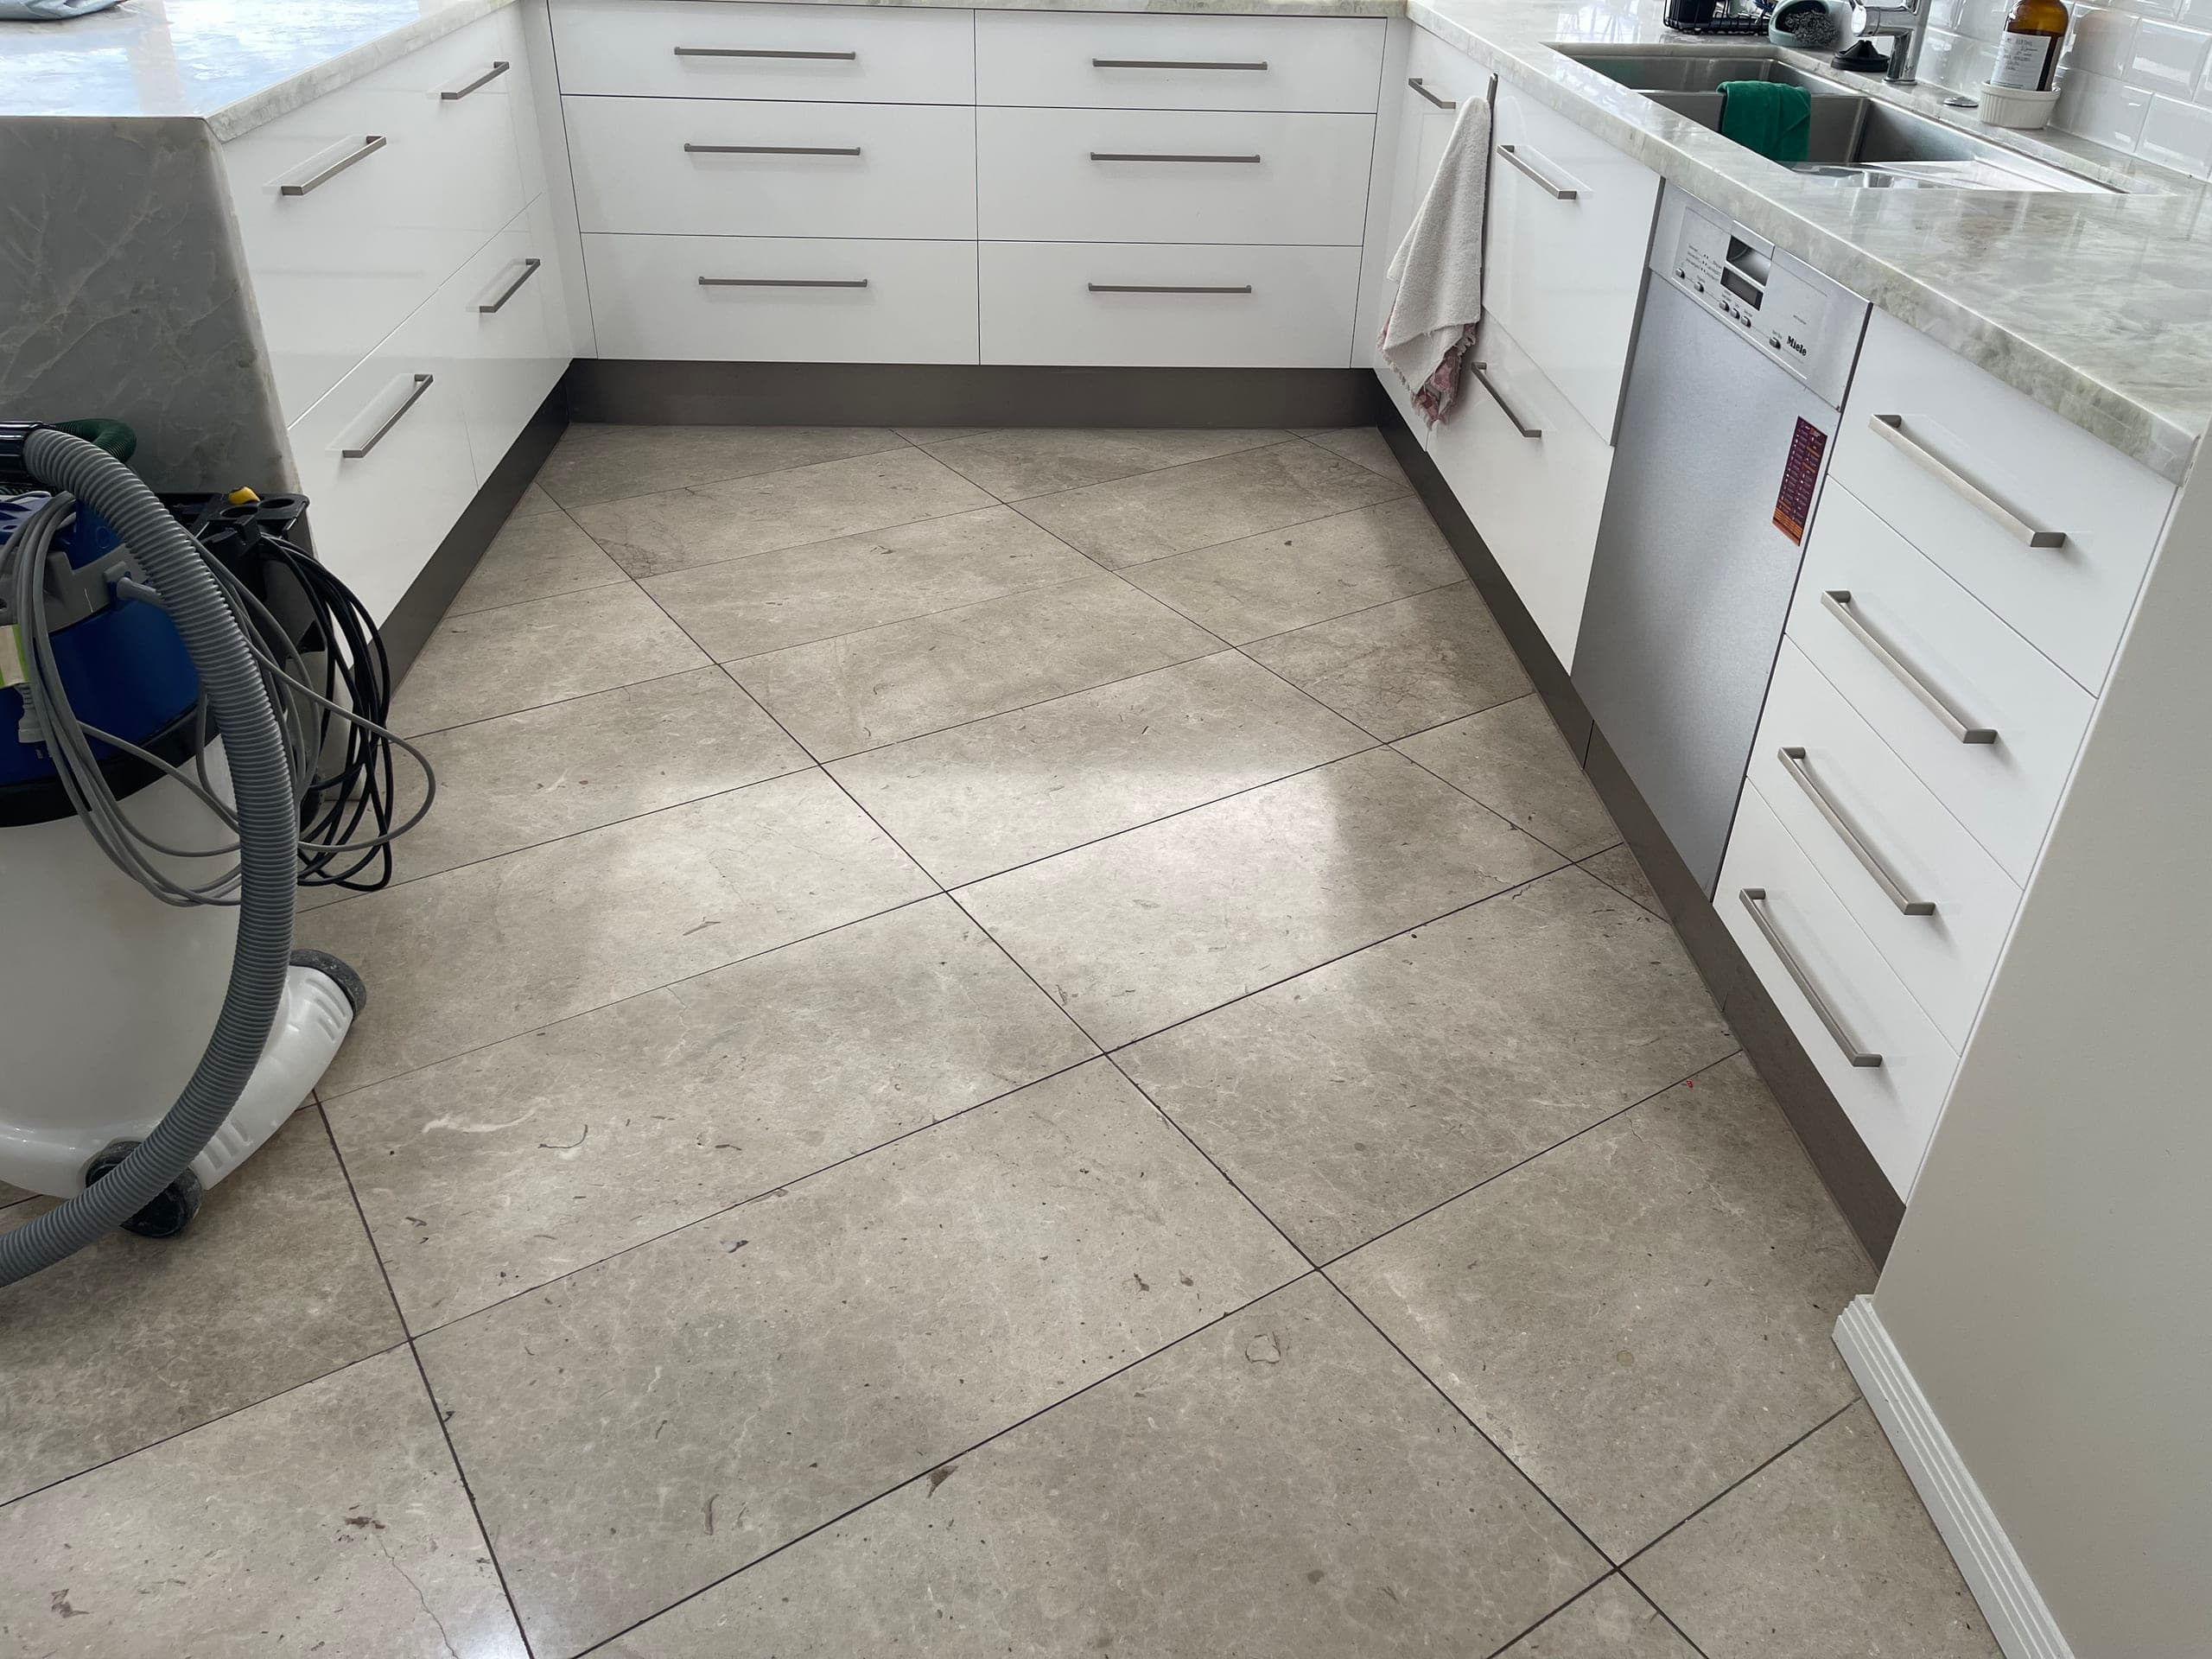
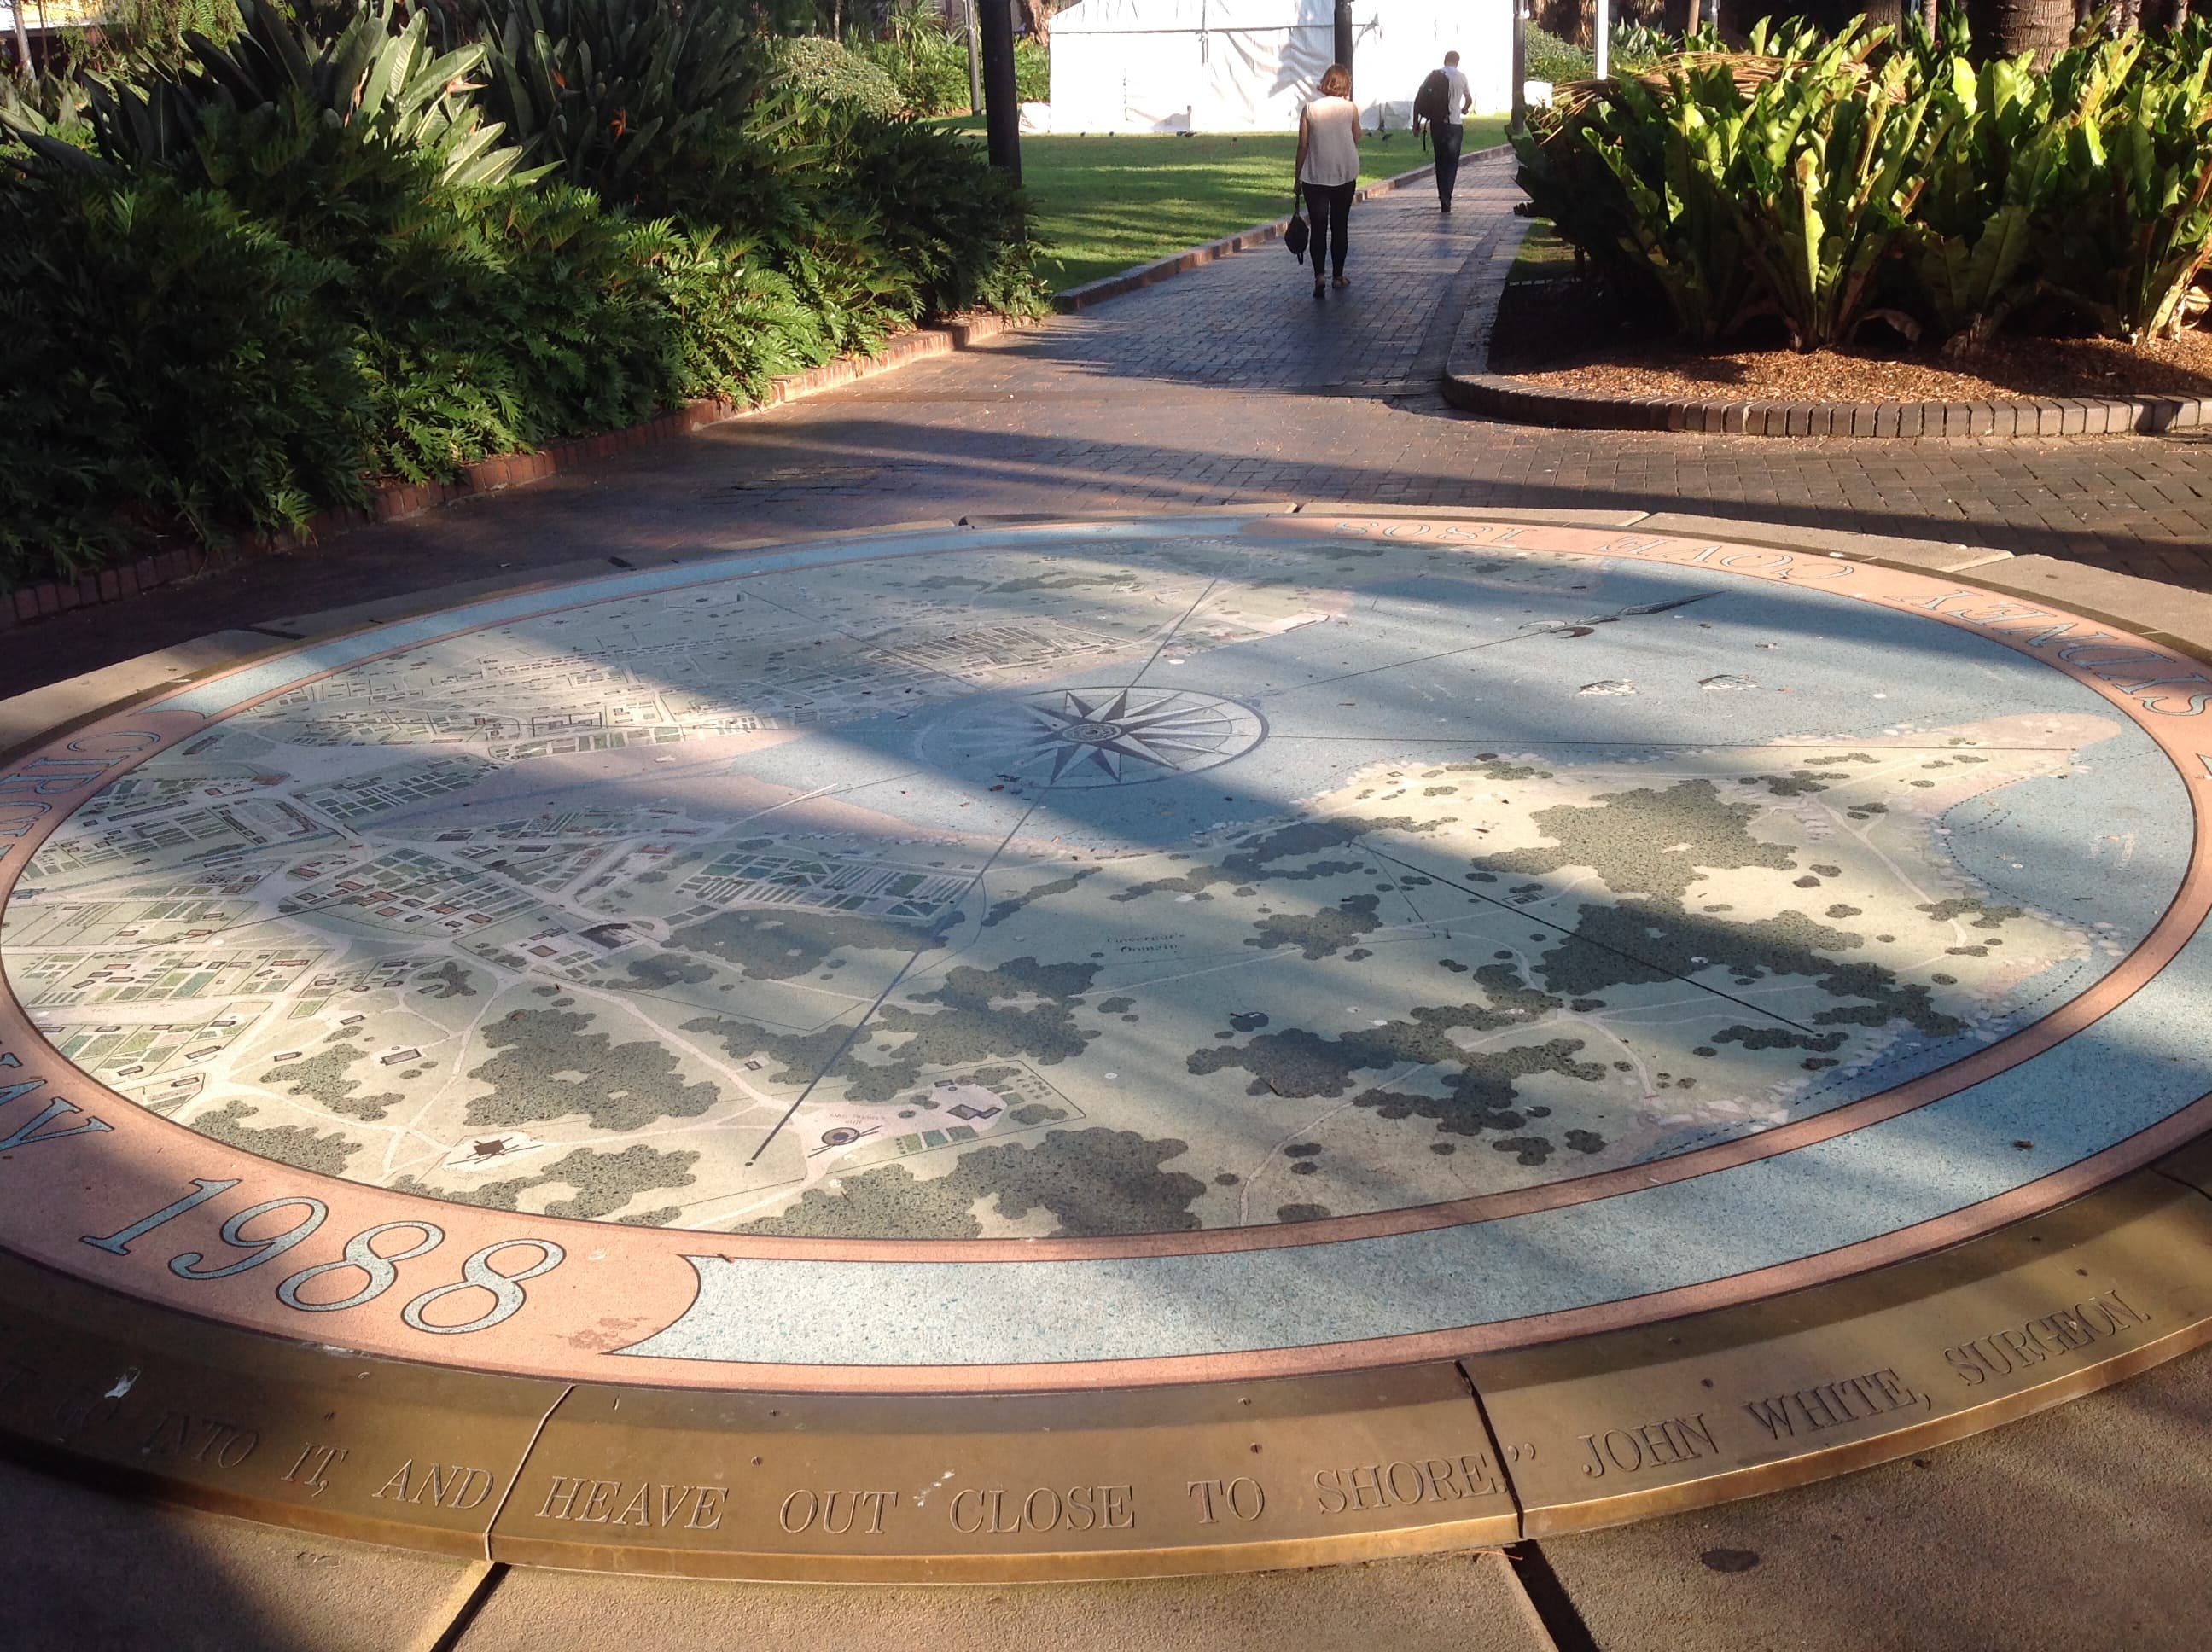
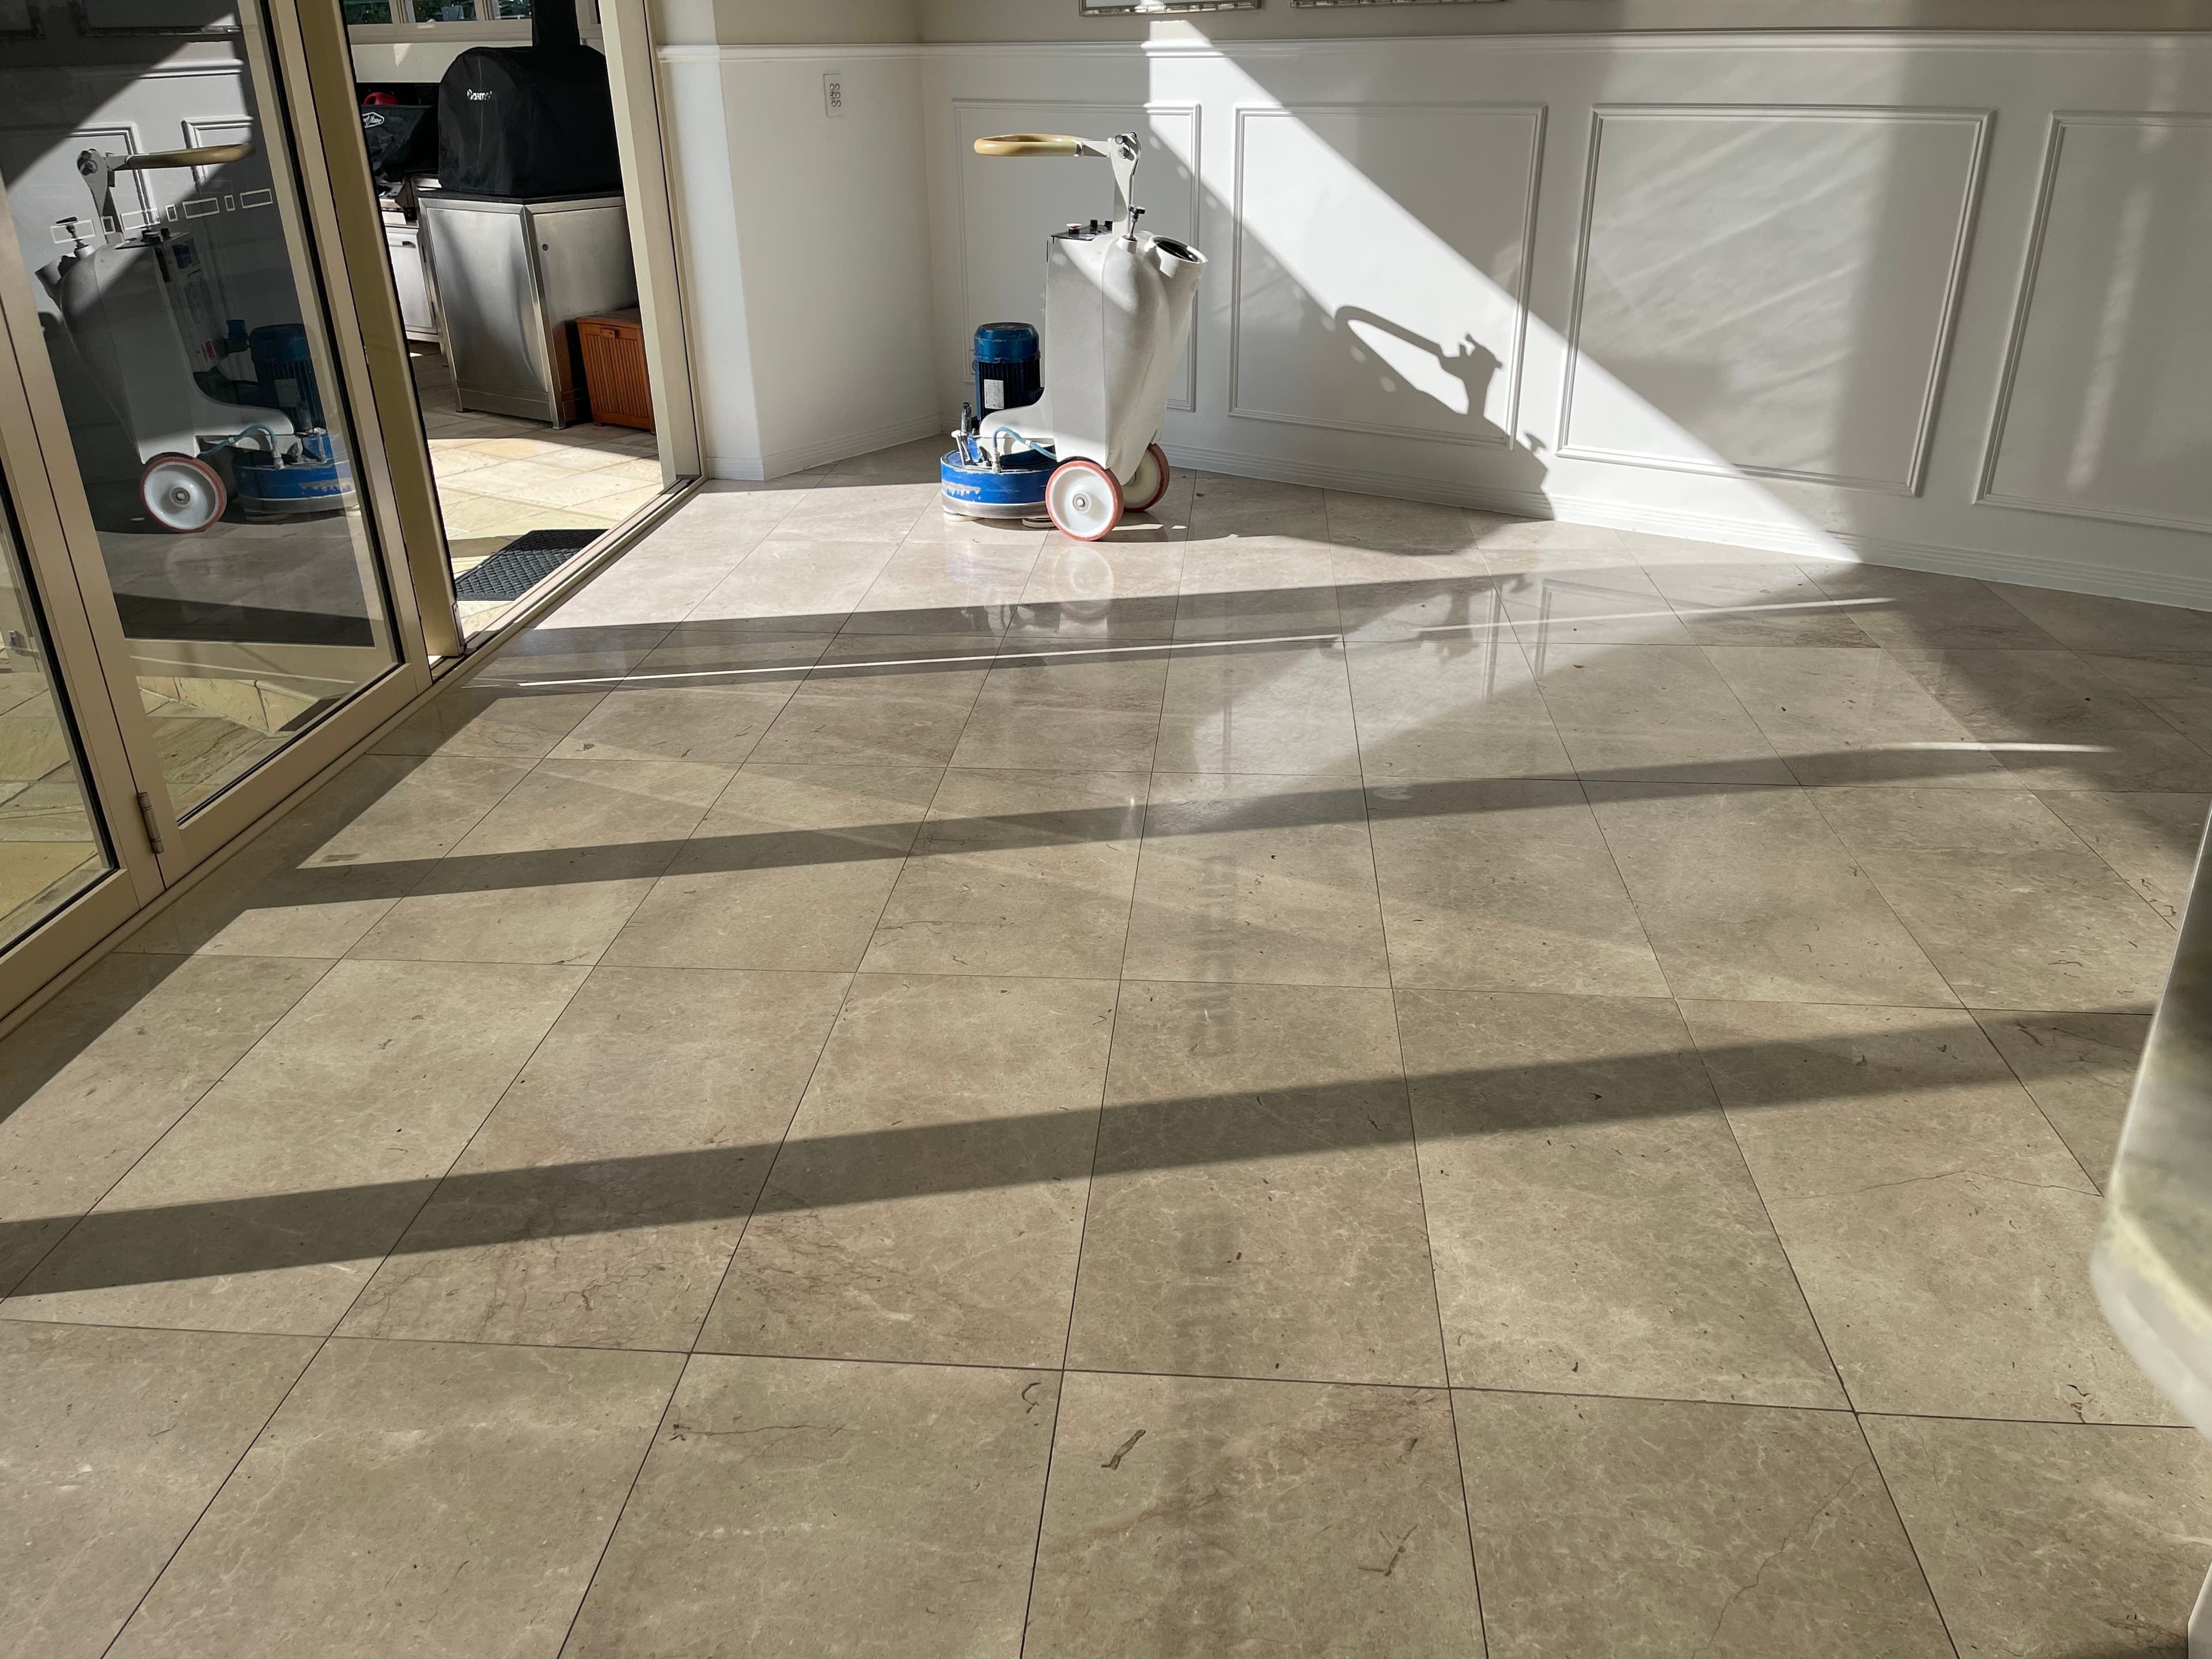
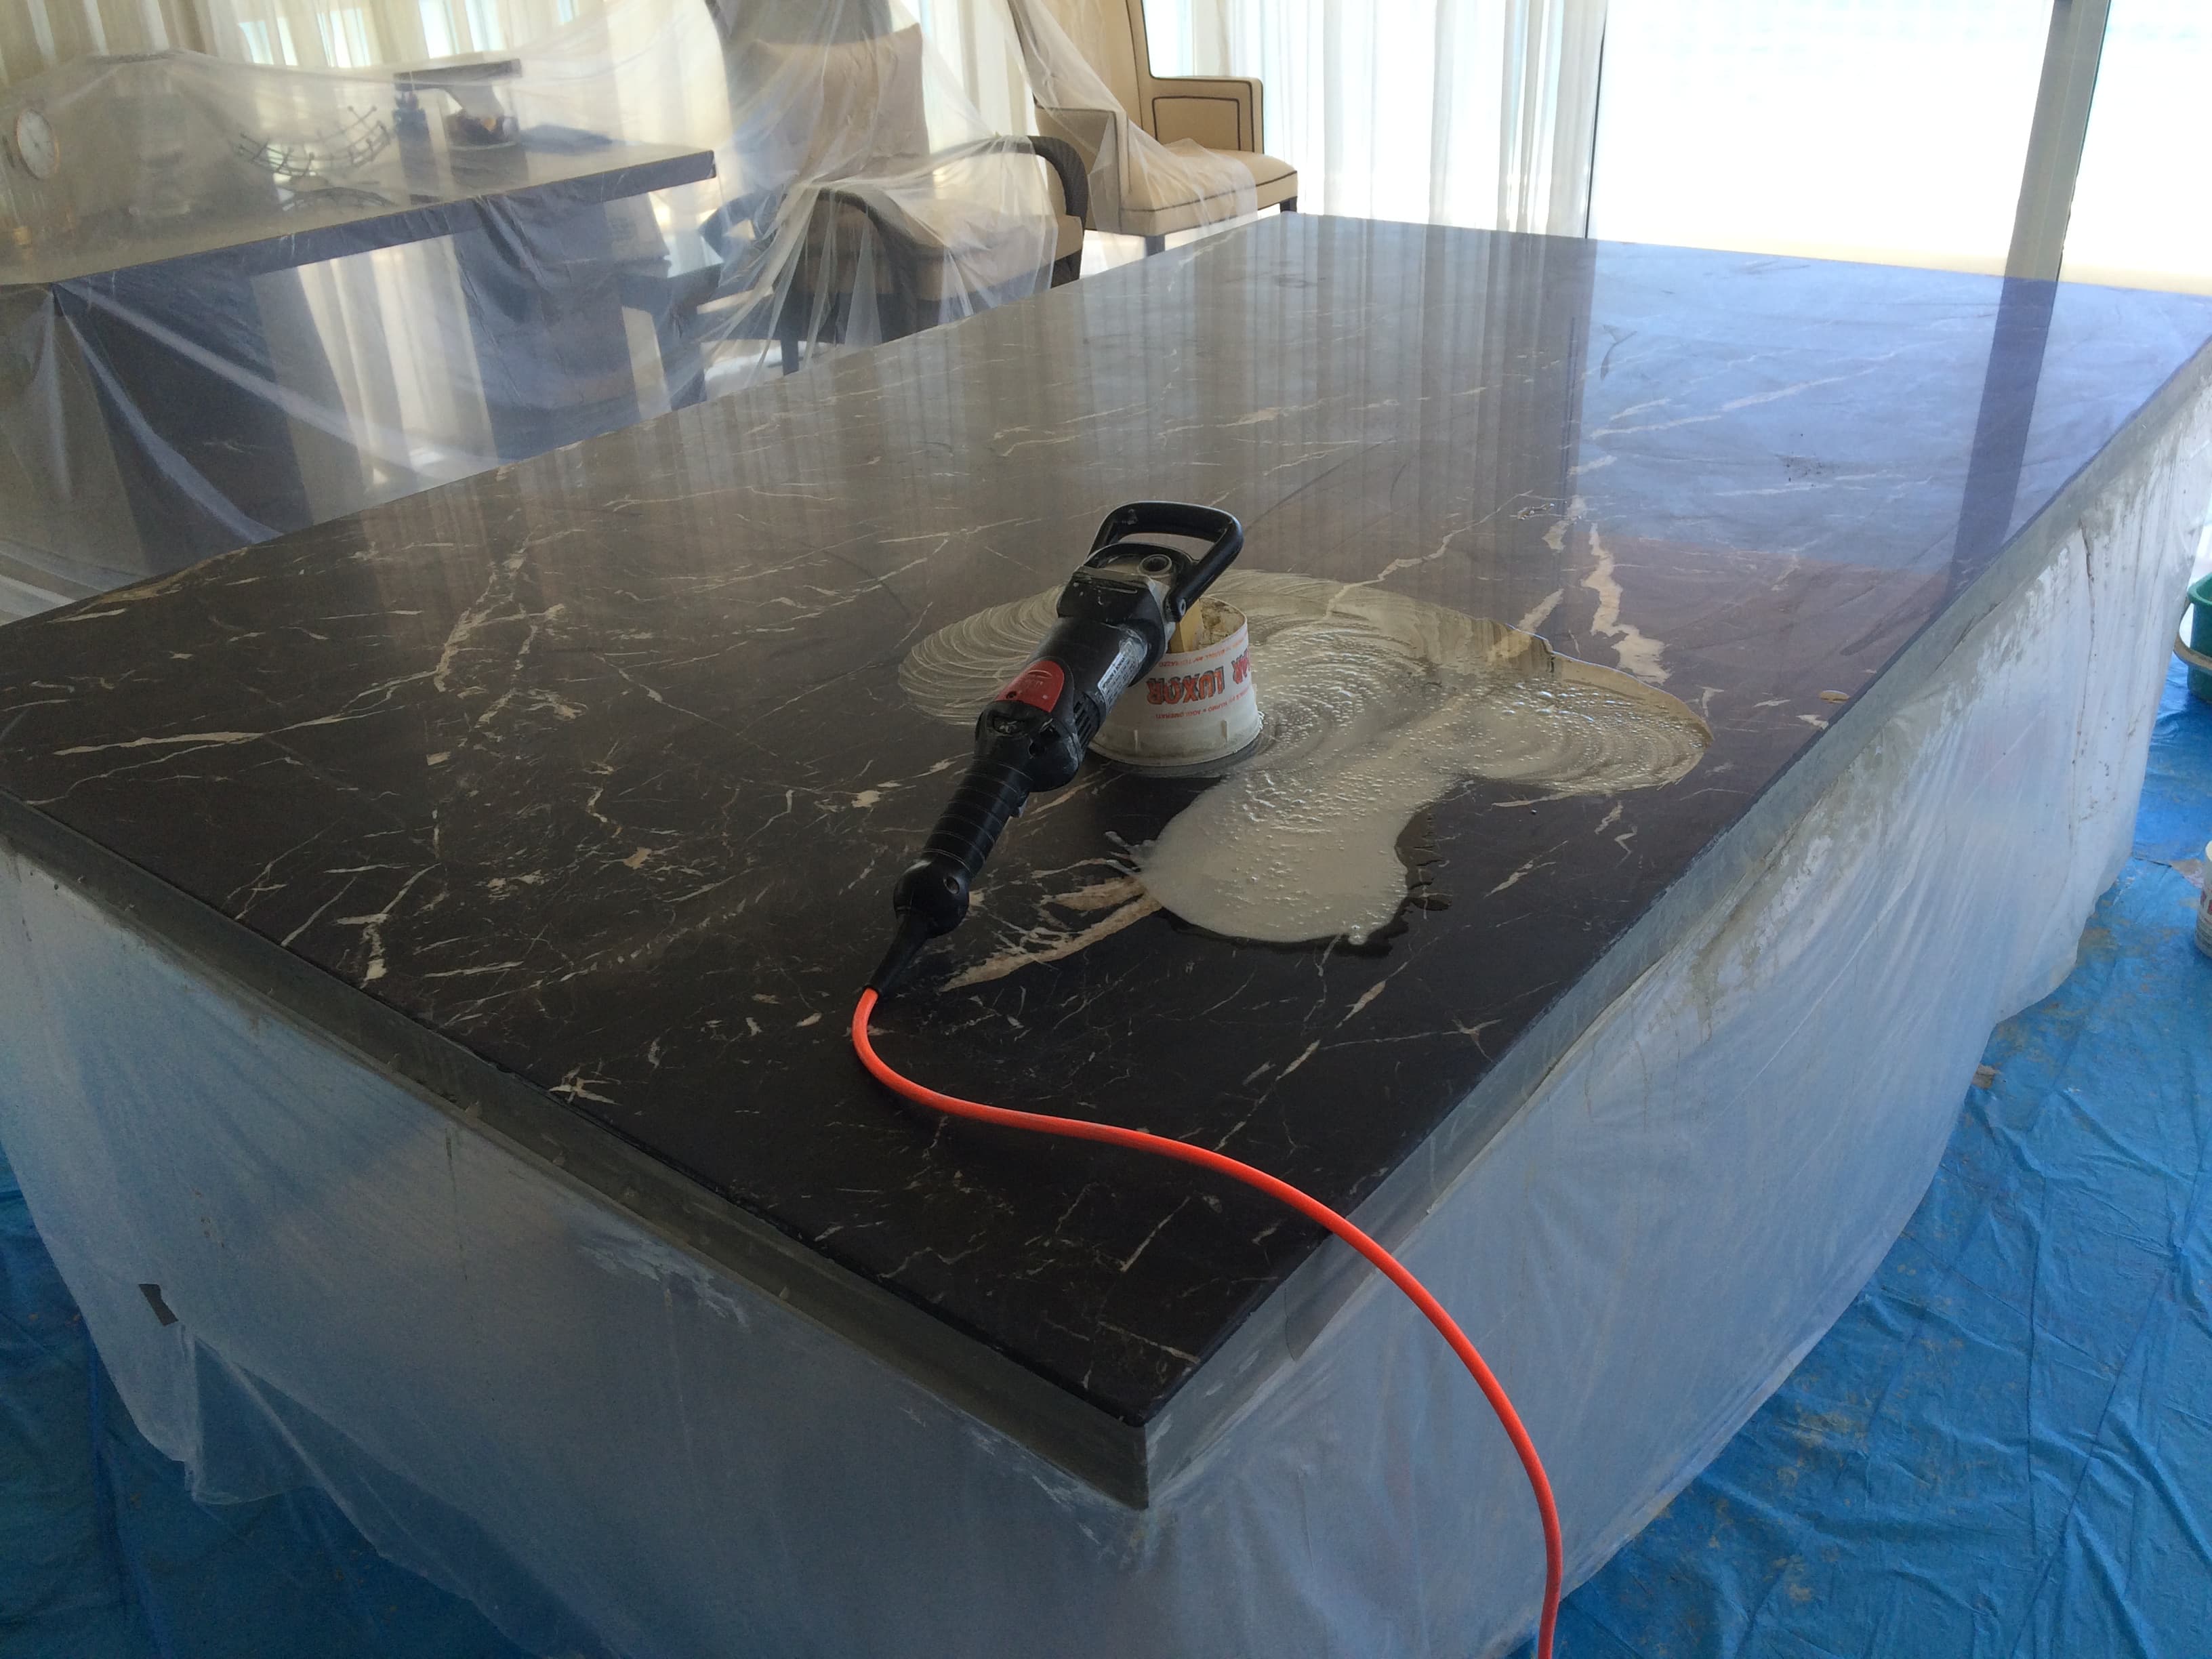
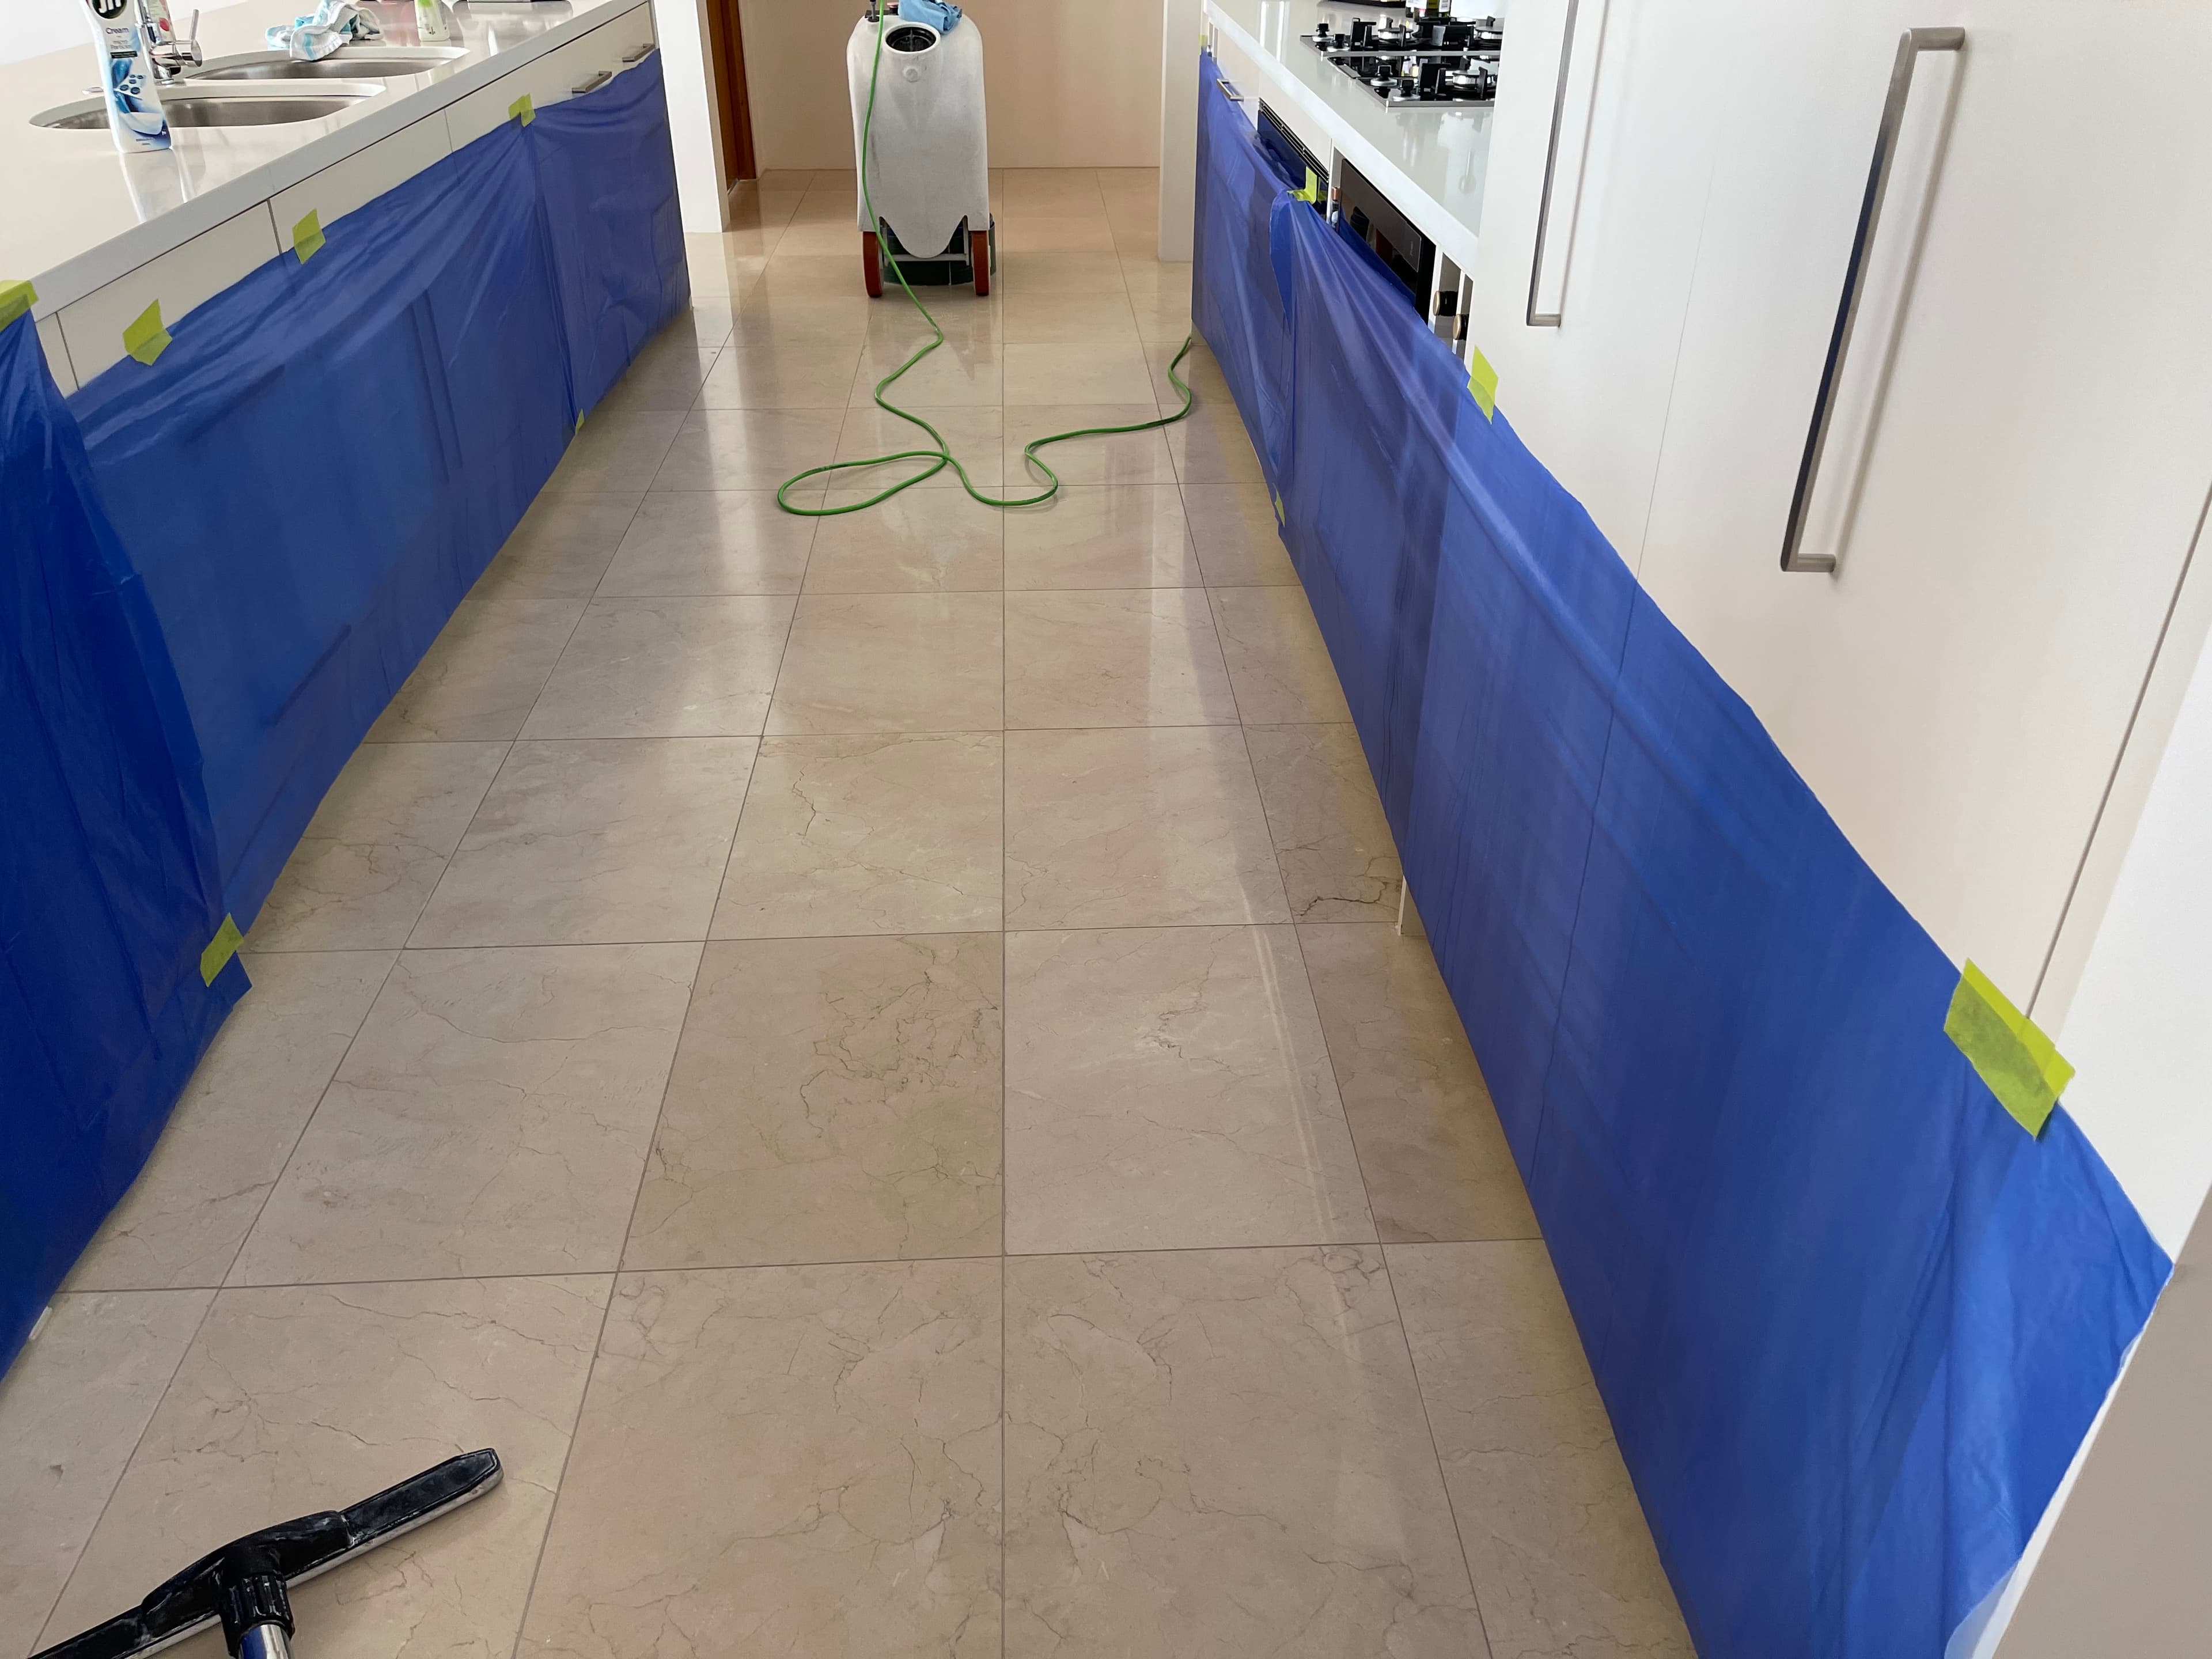
A note on these photographs: they are taken on site during real jobs, handheld. Each pair is the same floor or surface, but the camera position and the daylight are not identical between the two shots, so the comparisons will not line up pixel-for-pixel as the divider moves.
Want to know what your stone can look like?
Send us a photo of the surface and we will tell you honestly what is achievable and what is not.